How to Auto Fix ESLint Errors Online for JavaScript Projects: A Step-by-Step Guide
Ever opened a JavaScript repo and felt that little knot in your stomach as the ESLint warnings start flooding the console?
You’re not alone. Those red squiggles can turn a smooth coding session into a frustrating scavenger hunt, especially when you’re racing against a deadline.
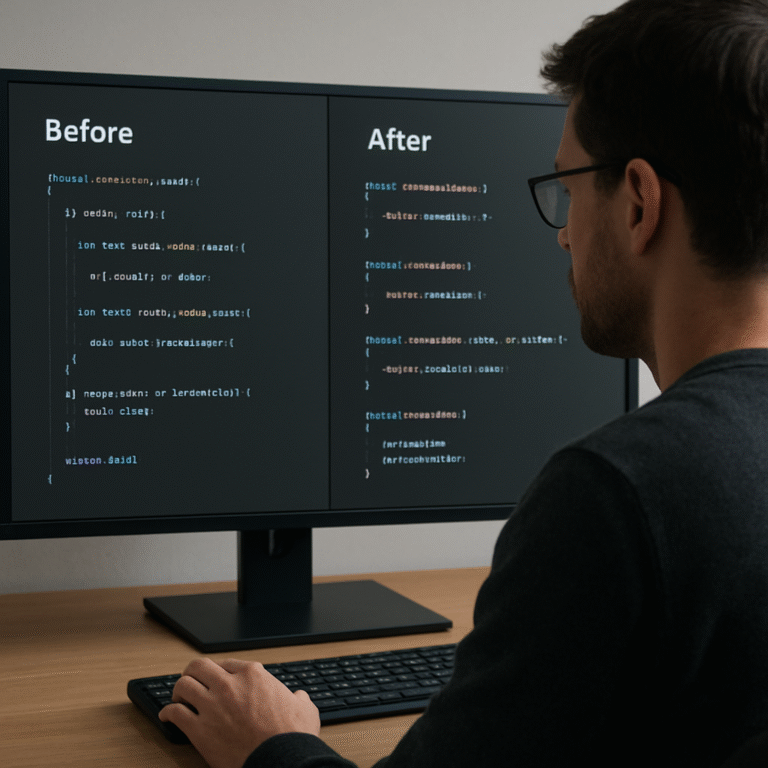
What if you could just point your browser at the code, hit a button, and watch the tool automatically clean up the lint errors for you?
That’s the promise of auto fix eslint errors online for javascript projects—an instant rescue that lets you focus on the actual logic instead of spending minutes tweaking style rules.
Think about it this way: instead of manually running eslint --fix in your terminal, copying the output, and hunting down each suggestion, an online fixer does the heavy lifting in the cloud. No installation, no config headaches, just pure, browser‑based convenience.
And the best part? It works across any JavaScript project, whether you’re dealing with a tiny Node script or a sprawling React codebase. You upload or paste your files, the AI scans for syntax slips, unused vars, missing semicolons, and even more nuanced rules like consistent arrow‑function spacing.
Does this sound too good to be true? I get it—automation can feel risky. What if the tool “breaks” something? Most reputable services run a safety pass: they apply fixes only where the change is guaranteed to be syntactically correct, preserving your original behavior.
So, why does this matter to you right now? Because every minute you spend wrestling with lint errors is a minute you’re not building features, debugging real bugs, or sipping that well‑earned coffee break.
Imagine opening your pull request, seeing a clean lint report, and hearing the reviewers say, “All good, ship it!” That’s the kind of smooth workflow we all crave.
Ready to ditch the manual grind? In the next sections we’ll walk through how to choose a reliable online fixer, set it up in seconds, and integrate the auto‑fix step into your CI pipeline.
Let’s dive in and reclaim that lost development time.
TL;DR
Auto fix eslint errors online for javascript projects lets you drop a file into your browser and get clean, lint‑free code back in seconds, eliminating CLI fuss and saving development time. Try the free SwapCode AI debugger now and watch your pull requests pass reviews without the usual red squiggles.
Step 1: Analyze Your ESLint Configuration
First thing’s first: before you hand over any code to an online auto‑fixer, you need to know exactly what your project is telling ESLint to enforce. Otherwise you might end up with a “clean” file that suddenly breaks your build because a rule you never use got flipped on.
So, where does that magic live? Most projects keep their settings in a file called .eslintrc (or .eslintrc.js, .eslintrc.json, even eslint.config.mjs). If you’re not sure, just look in the root folder – it’s usually right next to your package.json. Open it up and you’ll see three big sections: env, extends, and rules.
Step 1.1: Pull the resolved config
Running eslint --print-config path/to/file.js in your terminal spits out the full, merged configuration that ESLint actually uses for that file. Copy the output into a temporary file; this is your baseline.
Why bother? Because many projects rely on “extends” chains – like eslint:recommended or airbnb. The printed config shows every rule, even the ones coming from those shared configs. Knowing the exact rule set helps you decide which fixes are safe to let the online tool apply.
Step 1.2: Spot the “fixable” rules
Not every rule can be auto‑fixed. ESLint marks the ones that can with a ✖ in the CLI output, but you can also glance at the rule documentation. Look for rules like no-unused-vars, semi, arrow-spacing, or quotes. Those are the low‑risk candidates you’ll want the online fixer to touch.
Conversely, rules that enforce architectural decisions – say no-restricted-imports or complexity – should stay manual. If you let a generic tool rewrite those, you could introduce subtle bugs.
Step 1.3: Check parser and plugins
Does your project use TypeScript? Then you probably have @typescript-eslint/parser and a set of TypeScript‑specific rules. Does it run in a browser with JSX? Then babel-eslint or @babel/eslint-parser is in play. The online auto‑fix service needs to know about those parsers, otherwise it will misinterpret modern syntax and either skip fixes or break the code.
Make a quick checklist:
- Parser (e.g.,
@babel/eslint-parser,@typescript-eslint/parser) - Plugins (e.g.,
react,jsx-a11y) - Env settings (node, browser, jest)
If any of those are missing from the online tool’s UI, upload the config file manually – most services let you paste the raw JSON or point to a GitHub gist.
Step 1.4: Test the config locally
Before you hit “auto‑fix” in the browser, run eslint . --fix --dry-run locally. The --dry-run flag shows you what would change without actually touching the files. Compare that list with the “fixable” rules you identified earlier. If the diff looks sane, you’re ready to trust the online service.
Ever had a “dry‑run” surprise you? I remember a teammate who thought a rule was harmless, only to see ESLint rewrite a whole export statement. That moment taught us to double‑check the --dry-run output every time.
Step 1.5: Feed the config into the online fixer
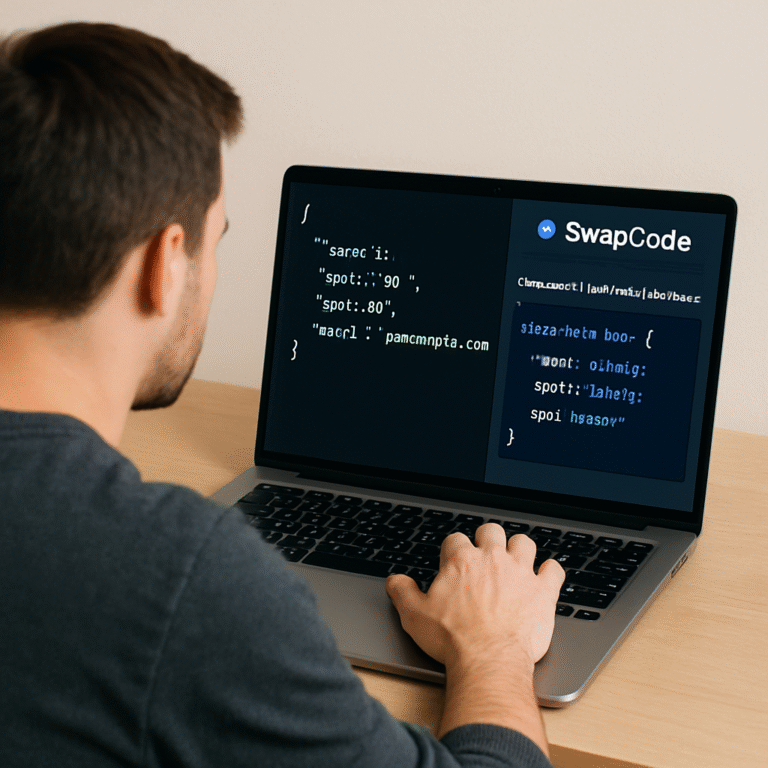
Now open your favorite auto‑fix platform. Look for an “Upload ESLint config” field – if you’re using SwapCode’s free AI debugger, you can paste the printed config right into the settings panel. Make sure the parser and plugins you listed earlier are also selected.
Once everything lines up, drop a sample file into the tool and hit “Fix”. The service will respect the rules you marked as fixable and leave the rest untouched. If the output looks clean, you’ve just saved yourself a handful of minutes of manual linting.
Does this feel like a lot? Not really. It’s a handful of minutes up front to avoid a whole afternoon of hunting down style violations.
Take a breath. You’ve just dissected your ESLint setup, identified safe‑to‑fix rules, and prepared the config for an online auto‑fixer. Next up we’ll walk through actually running the fixer on a real codebase and integrating the step into your CI pipeline.
Step 2: Choose an Online Auto‑Fix Tool
Now that you’ve got a clean config and a sample file, the real question is: which web‑based fixer should you trust with your code? It’s easy to get overwhelmed by the flood of options, but you don’t need a PhD in linting to make a solid choice.
First, ask yourself what matters most. Do you need a tool that understands custom parsers and plugins? Are you looking for a free, one‑click experience that won’t ask for a credit card? Or maybe you want a service that shows you a diff before it rewrites anything.
What to look for
Parser & plugin support. If your project uses @typescript-eslint/parser or Babel, the fixer must let you upload that configuration. Otherwise it’ll misinterpret modern syntax and either skip fixes or, worse, break the code.
Rule‑level granularity. A good tool lets you toggle which rules are auto‑fixed. That way you keep the “manual‑review” ones, like architectural constraints, out of the automated run.
Safety net. Look for a preview or dry‑run mode. Seeing a side‑by‑side diff before you hit “Apply” is priceless – it’s the same confidence you get from ESLint’s own documentation about its syntax‑aware fixes.
And don’t forget the “price” factor. Many services lure you with a free tier but cap the file size or hide the diff behind a paywall. If you’re a freelancer or a small team, the free options are usually more than enough.
Our quick‑look checklist
- Supports custom parser (e.g.,
@babel/eslint-parser) - Allows rule‑by‑rule enable/disable
- Shows a diff before applying fixes
- Free tier covers at least 5 MB of code per run
Grab a pen and tick those boxes. If a tool checks all four, you’re probably in good hands.
One service that consistently hits the mark for JavaScript developers is SwapCode’s Free AI-Powered 1‑click JavaScript Debugger. It lets you paste your ESLint config, auto‑detects the parser, and presents a clear before‑after view. No hidden fees, and the AI layer even suggests which rules you might want to keep manual.
Side‑by‑side comparison
| Criteria | SwapCode Debugger | Generic Online Fixer | Self‑Hosted CLI |
|---|---|---|---|
| Parser support | ✅ Custom parsers & plugins | ❓ Often limited to default parser | ✅ Full control via local ESLint |
| Rule granularity | ✅ Toggle per rule | ⚠️ All‑or‑nothing | ✅ Same as ESLint CLI |
| Diff preview | ✅ Interactive diff | ❌ No preview | ✅ CLI –dry-run |
Notice how the SwapCode option gives you the best of both worlds: the convenience of a browser tool and the safety features you’d expect from a local setup.
So, what’s the next step? Grab your ESLint JSON, hop onto the debugger, and run a quick test file. If the diff looks clean, you’ve just saved yourself a few minutes of manual linting and a lot of head‑ache later.
Remember, the goal isn’t to replace your local linting entirely – it’s to give you a fast, trustworthy fallback when you’re in a hurry or working on a machine without the full toolchain.
Give it a whirl, and you’ll see why “auto fix eslint errors online for javascript projects” feels less like a gamble and more like a handy side‑kick in your dev workflow.
Step 3: Run the Auto‑Fix Process
Alright, you’ve got your ESLint config ready and you’ve chosen SwapCode’s online debugger. Now it’s time to actually hit that “Fix” button and watch the magic happen.
Upload the code you want to clean
Drag‑and‑drop a single file or zip up a small folder and drop it into the tool. The UI will instantly show you which parser it’s using – if you see @babel/eslint-parser or @typescript-eslint/parser pop up, you know you’re in the right lane.
Don’t forget to double‑check the “Rule toggle” panel. Turn on the rules you marked as safe in Step 1 (like semi, quotes, no‑unused‑vars) and leave the heavyweight architectural ones off.
Feeling a little nervous? That’s normal. The diff view will let you peek at every change before you commit.
Run the auto‑fix and review the diff
Click “Run Auto‑Fix”. In a few seconds the service spits out a side‑by‑side comparison: original on the left, polished on the right. Look for green highlights – those are the fixes the tool applied.
If something looks off, you can hit “Undo” and tweak the rule toggles. The tool is forgiving; it won’t overwrite code it can’t safely change.
Pro tip: use the built‑in “Copy to clipboard” button to grab the fixed snippet and paste it straight into your editor. No need to download a whole zip unless you’re fixing a batch.
Batch‑fixing a whole project
When you’re comfortable with a single file, zip up the entire src folder and upload it. The debugger will run through each .js, .jsx, .vue file, applying only the rules you allowed.
After the run finishes, download the zip, unzip locally, and run git diff to see the exact changes. This extra sanity check mimics the familiar eslint --fix --dry-run workflow many teams use.
Speaking of npm scripts, you can also automate the same process locally. Add a lint:fix command to your package.json like this:
"scripts": {
  "lint": "eslint --ext .js,.jsx src",
  "lint:fix": "eslint --fix --ext .js,.jsx src"
}
Then run npm run lint:fix whenever you want a quick, repeatable fix. This pattern is documented on Stack Overflow, where developers share the exact snippet you see above.
What to do with the output
Copy the cleaned code back into your repository, stage the changes, and run your test suite. If all tests pass, you’ve just saved yourself a handful of minutes – and a lot of mental friction.
In CI pipelines, you can drop the same config file into a headless version of the debugger or simply run the npm lint:fix script as a pre‑commit hook. Either way, the goal is the same: keep the codebase lint‑clean without manual copy‑pasting.
And remember, the online auto‑fix is a sidekick, not a replacement for your local ESLint setup. Keep the full CLI around for edge‑case rules that need human judgment.
So, give it a whirl: upload a file, toggle a couple of rules, hit “Fix”, and see how painless linting can be. Once you see the diff, you’ll understand why “auto fix eslint errors online for javascript projects” feels like having a trusty co‑pilot in your dev workflow.
Before you close the browser, take a quick note of which rules you enabled – you’ll want to keep that list handy for future projects or when you migrate to a CI‑only workflow. A little documentation now saves hours later.
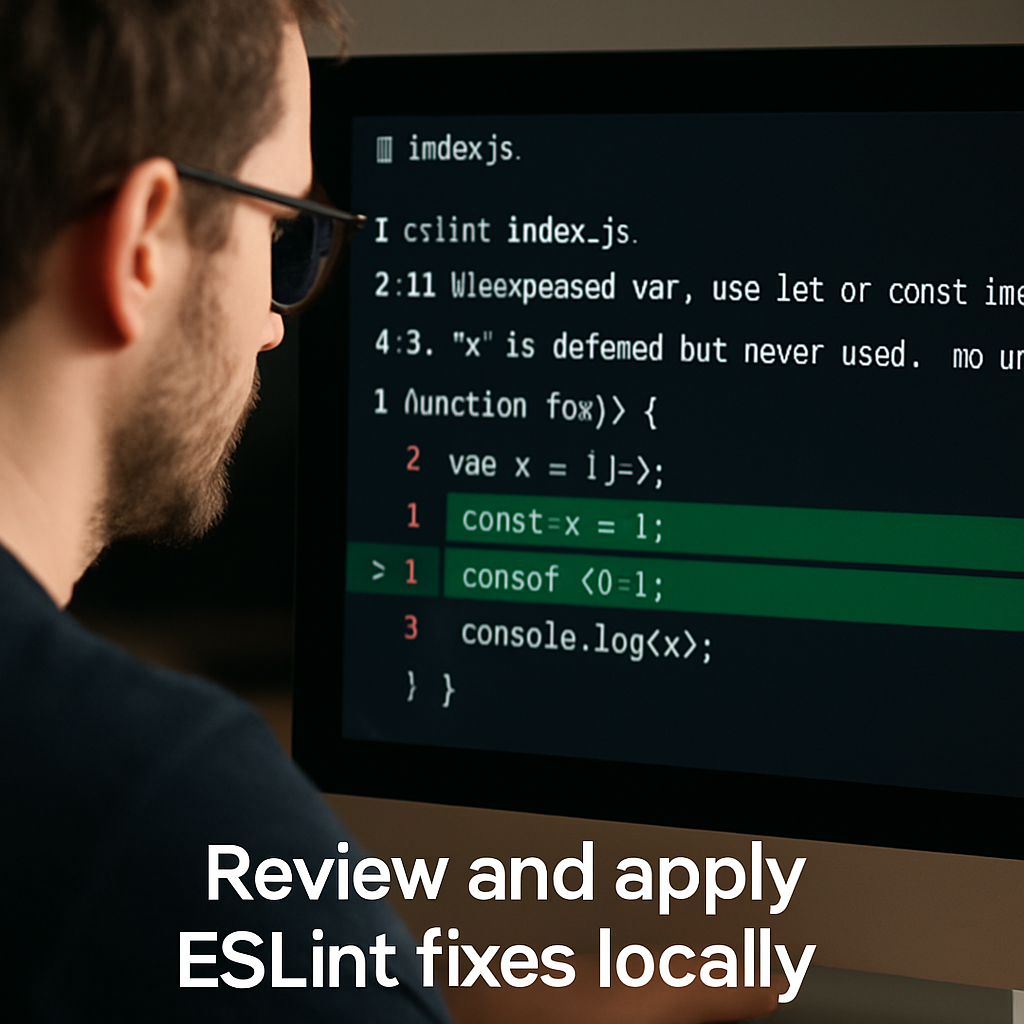
Step 4: Review and Apply Fixes Locally
Pull the fixed code back to your machine
When the tool finishes, hit the “Copy to clipboard” button or download the zip file.
Paste the snippet into a new file in your repo, or unzip the archive right next to your source tree.
This step feels a bit like moving furniture – you want everything lined up before you start rearranging.
Run a local dry‑run before committing
Before you let Git see the changes, run eslint --fix --dry-run on the same files.
Why? Because the online service might have applied fixes that your local config treats differently, especially if you have custom plugins.
The dry‑run will list any mismatches without touching the files, giving you a safety net.
If the output is clean, you’ve got a green light to move forward.
Compare diffs side‑by‑side
Open a terminal and run git diff or use your IDE’s diff viewer.
Look for the typical green highlights – those are the auto‑fixed lines.
Do you see any unexpected whitespace changes or rearranged import order? That’s a cue to pause and investigate.
Remember the rule toggle you set in Step 2? If a rule you left off shows up in the diff, double‑check the online tool’s configuration.
Validate behavior with your test suite
Run npm test or whatever command powers your CI.
If all tests pass, the fixes are safe for production.
Failing tests often point to a rule that rewrote code in a way your runtime didn’t expect – like changing a default export to a named export.
In that case, revert the offending hunk and either keep the rule disabled or fix the code manually.
Stage and commit with a clear message
Once you’re satisfied, stage the files with git add and write a concise commit.
A good message might read: “chore: apply ESLint auto‑fixes from SwapCode online tool”.
Including the source of the fixes helps teammates understand why the diff looks so tidy.
Tip: create a reusable local script
If you find yourself repeating this process, add a small npm script that pulls the latest fix, runs the dry‑run, and opens the diff automatically.
For example:
"scripts": {"lint:apply-online": "node scripts/apply-online-fix.js && eslint --fix --dry-run src && git diff"}Now a single npm run lint:apply-online does the whole loop.
Document the rule set you used
Write a short note in your repo’s README or in a CONTRIBUTING file.
List the rules you allowed the online fixer to touch – semi, quotes, no‑unused‑vars, etc.
This documentation saves future you from second‑guessing why a line suddenly changed.
Integrate into a pre‑commit hook (optional)
If you want the safety net to run every time you commit, hook the same script into husky or lint‑staged.
The hook can fetch the latest online fixes, run the dry‑run, and abort the commit if something looks off.
That way you keep the convenience of the browser tool without ever leaving your local workflow.
Common pitfalls and how to avoid them
Missing parser plugins – if the online fixer didn’t know about @typescript-eslint/parser, you’ll see syntax errors after applying the diff.
Solution: double‑check the parser field in the downloaded config and add it to your local .eslintrc before running the diff.
Over‑aggressive rule toggles – turning on every fixable rule can lead to style churn you didn’t intend.
Solution: start with a minimal set, review the first batch, then gradually enable more.
Final sanity check
Take a moment to scroll through the changed files manually.
Do the changes still read like code you’d write? If something feels “off”, trust your gut and revert that piece.
Remember, linting is a guide, not a dictator.
When you’ve crossed all these checkpoints, push the branch, open a pull request, and let the reviewers enjoy a clean lint report.
That’s the sweet spot: the online auto‑fix gave you speed, and your local review gave you confidence.
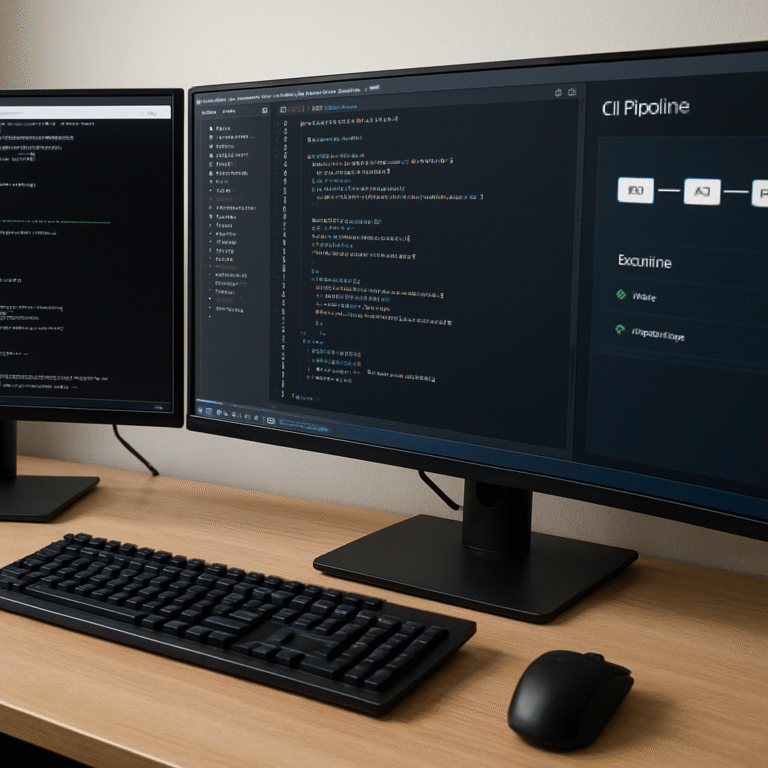
Step 5: Integrate Auto‑Fix into CI/CD Pipelines
Alright, you’ve already let the online fixer clean up a file or two, and you’ve double‑checked the diff locally. The next logical step is to make that magic happen automatically every time you push code. That’s where CI/CD comes in.
Why bake auto‑fix into the pipeline?
Imagine a teammate forgets to run npm run lint:fix before opening a PR. Suddenly the whole branch is flooded with stray semicolons and mismatched quotes. If the pipeline can catch and fix those before the code even lands, you avoid the back‑and‑forth of “please run the formatter”.
Does it feel a bit risky to let a tool rewrite code on the fly? It’s a fair concern, but remember we already ran a dry‑run locally. The CI step just repeats that safety net at scale.
Pick the right hook
Most CI systems (GitHub Actions, GitLab CI, CircleCI, Jenkins) let you run a script before the build or test phase. We’ll use a generic lint-fix script so you can copy‑paste it into any YAML file.
First, add an npm script that mirrors what the online fixer does. If you’re using SwapCode’s debugger, you can export the diff as a JSON patch and apply it with a tiny Node helper, but the simplest route is to call ESLint directly:
"scripts": {
  "lint": "eslint . --ext .js,.jsx src",
  "lint:fix": "eslint . --ext .js,.jsx src --fix"
}
Now you have a command that will fix everything the online tool deemed safe.
GitHub Actions example
Drop this snippet into .github/workflows/lint-fix.yml:
name: Auto‑Fix ESLint
on: [push, pull_request]
jobs:
  lint-fix:
    runs-on: ubuntu-latest
    steps:
      - uses: actions/checkout@v3
      - name: Set up Node
        uses: actions/setup-node@v3
        with:
          node-version: '20'
      - run: npm ci
      - name: Run ESLint auto‑fix
        run: npm run lint:fix
      - name: Commit fixes back
        uses: stefanzweifel/git-auto-commit-action@v5
        with:
          commit_message: "chore: auto‑fix lint issues via CI"
          branch: ${{ github.head_ref }}
What’s happening here? We check out the code, install deps, run npm run lint:fix, and if any files changed we automatically commit them back to the same branch. The PR updates in place – no manual copy‑pasting required.
Does this mean every push will rewrite code? Not if you add a guard. Let’s only run the fix on PRs targeting your main branch, or add a condition that checks whether the diff contains any changes before committing.
GitLab CI snippet
If you’re on GitLab, the .gitlab-ci.yml might look like this:
lint_fix:
  image: node:20
  stage: test
  script:
    - npm ci
    - npm run lint:fix
    - git diff --exit-code || (git config user.email "[email protected]" && git config user.name "CI Bot" && git add . && git commit -m "chore: auto‑fix lint issues" && git push origin $CI_COMMIT_BRANCH)
  only:
    - merge_requests
The git diff --exit-code part ensures we only push a new commit when something actually changed.
Running the online fixer in CI
If you really want to keep the online service in the loop (maybe you love its AI‑driven suggestions), you can call its API from a CI step. Most services expose a simple HTTP endpoint: send your source files, get back a patched zip, unzip, and run git diff to see what changed. The pattern is the same – apply, test, commit.
Don’t forget to store any API keys in your CI’s secret store; never hard‑code them.
Safety checklist before you merge
- Run your test suite after the auto‑fix step – a failing test means something went sideways.
- Make sure the CI job runs in a clean environment so local caches don’t mask missing plugins.
- Limit the auto‑fix to branches that already pass lint in
--dry-runmode, just to be extra sure.
These tiny safeguards keep the pipeline from becoming a black box.
What if you need to skip a fix?
Sometimes a rule you’ve allowed is too aggressive for a particular file. Add an eslint-disable-next-line comment in that spot, and the CI step will respect it – the same way ESLint does locally.
Or, if you want to temporarily pause the auto‑fix for a hot‑fix branch, just set an environment variable like DISABLE_AUTO_FIX=true and have your script bail early.
Wrap‑up
Integrating auto‑fix into your CI/CD pipeline turns a one‑off convenience into a repeatable safety net. You get the speed of the online fixer, the confidence of a local dry‑run, and the peace of mind that every push meets your lint standards without manual effort.
Give it a try on a small feature branch, watch the PR update itself, and you’ll see how much friction disappears. Once it feels solid, roll it out to all your repos and let the pipeline do the boring lint work while you focus on building real features.
Step 6: Optimize and Customize ESLint Rules
Now that the auto‑fix step is humming in your CI, it’s time to fine‑tune the rule set so the tool only touches what you actually want it to.
Why bother customizing?
Imagine ESLint started rewriting every import order just because you enabled a rule you never cared about. Your PR would explode with noise, and you’d spend more time cleaning up the clean‑up. Customizing keeps the auto‑fix laser precise – it fixes real problems without turning your codebase into a style‑experiment.
So, how do we get that laser focus?
Step 1: Audit your current rule list
Pull the resolved config you printed in Step 1 and skim the rules object. Look for the ✅ markers in the ESLint docs – those are the fixable ones. Typical safe bets are semi, quotes, no‑unused‑vars, and arrow‑spacing. Anything that changes code semantics, like no‑implicit‑any or no‑restricted‑imports, should stay off the auto‑fix list.
Tip: copy the rule names into a spreadsheet and add a column “auto‑fix?” – a quick visual filter saves you from scrolling forever.
Step 2: Create a “fixable‑only” config
Take the original .eslintrc and duplicate it as .eslintrc.fixable.json. Then, in the rules section, set every non‑fixable rule to 0 or simply remove it. Leave the fixable ones with their original severity (usually "error" or "warn").
Here’s a tiny snippet to illustrate:
{
  "extends": ["eslint:recommended"],
  "rules": {
    "semi": ["error", "always"],
    "quotes": ["error", "single"]
    // "no-restricted-imports": "off"   ← removed for auto‑fix
  }
}
Now you have a lean config that tells the online fixer exactly where to swing.
Step 3: Test the new config locally
Run eslint . --fix --dry-run --config .eslintrc.fixable.json. The output will list only the files that would change. If you see a handful of lines, you’re good. If the list is huge, you probably left a rule on that does more than you expect.
Does it feel safe? Run the same command without --dry-run on a copy of your repo. Then fire your test suite. No failures? A single failing test is a clear sign you need to pull that rule back.
Step 4: Wire the custom config into CI
In your CI script, replace the generic eslint --fix with eslint --fix --config .eslintrc.fixable.json. If you’re using the GitHub Actions snippet from Step 5, just add the --config flag to the npm run lint:fix command.
Because the CI runs in a fresh container, make sure the fixable config is committed to the repo (or generated on the fly with a small npm script). That way every runner sees the exact same rule set.
Step 5: Add a “rule‑override” comment guide
Even a perfect fixable list can run into edge cases. Encourage your team to sprinkle // eslint-disable-next-line rule-name comments where they need a manual hand. Those comments survive the auto‑fix step and give you surgical control.
For example, if a file contains a legacy API call that the no‑unused‑vars rule would mistakenly flag, a one‑line comment stops the rewrite without disabling the rule project‑wide.
Step 6: Review and iterate
After a few weeks of auto‑fixes, take a look at the PR history. Are there recurring manual tweaks after the CI run? If so, either add those rules to the fixable config or adjust your codebase to align with the rule.
Remember, optimizing ESLint is an ongoing conversation between you, the tool, and the code. The goal isn’t a static file that never changes; it’s a living config that grows with your project’s needs.
Ready to lock in your custom rule set? Grab the .eslintrc.fixable.json, push it to the main branch, and watch the next CI run tidy up only the things you’ve approved. You’ll get that sweet spot where linting feels like a helpful assistant rather than an over‑eager editor.
And that’s how you turn “auto fix eslint errors online for javascript projects” from a one‑off trick into a disciplined, repeatable part of your workflow.
FAQ
What exactly does “auto fix eslint errors online for javascript projects” mean?
In plain English, it’s a web‑based service that takes the JavaScript files you feed it, runs ESLint with the fixable rules turned on, and returns the same files with those issues automatically corrected. You don’t need to install anything locally – just drop your code into the browser, hit “Fix”, and get a cleaned‑up version back in seconds.
Think of it as a lint‑aware spell‑checker that only rewrites things it knows are safe, like missing semicolons or stray spaces.
Is it safe to let an online tool rewrite my code?
Safety comes from two things: the tool only applies fixes that ESLint marks as “fixable”, and you get a diff before you accept the changes. That way you can see exactly what was altered and decide if anything looks odd.
Most developers run a quick local dry‑run (eslint --fix --dry-run) after pulling the online output, just to double‑check that nothing surprises the test suite.
Which ESLint rules can the online auto‑fixer handle?
Typical fixable rules include semi, quotes, no‑unused‑vars, arrow‑spacing, and comma‑dangle. Anything that requires human judgment – like import ordering, architectural constraints, or complex refactors – stays untouched unless you explicitly enable it.
Start with a minimal set, run a few files through the service, and expand only if the results feel trustworthy.
Do I need to upload my ESLint configuration?
Yes, if your project uses custom parsers (like @typescript-eslint/parser) or plugins (React, JSX‑a11y, etc.). Uploading the .eslintrc (or the printed resolved config) tells the online fixer exactly which rules to respect. Without it, the service falls back to the default ESLint config and may skip or misinterpret modern syntax.
Most platforms let you paste the JSON straight into a settings panel – a quick copy‑paste and you’re good to go.
Can I integrate the online auto‑fix step into my CI pipeline?
Absolutely. Treat the online service like any other linting command: call its API from a CI job, download the patched zip, run git diff --exit-code and, if there are changes, commit them back or fail the build. Many teams prefer to mirror the same fixable rule set locally (using a .eslintrc.fixable.json) so the CI step runs the native ESLint binary instead of a remote call.
The key is to keep the CI environment clean and to run your test suite after the auto‑fix – that catches any edge‑case rewrites before they reach production.
What if the tool “over‑fixes” and changes something I didn’t want?
First, check the diff – you’ll see every line the tool touched. If a rule slipped through that you’d rather keep, add an // eslint-disable-next-line rule-name comment right above the line. The next run will respect that comment and leave the code untouched.
Second, refine your fixable config: remove or downgrade the offending rule, then re‑run the process. Over time you’ll build a lean rule set that only touches the things you truly want automated.
How often should I run the online auto‑fixer?
Think of it as a “quick clean‑up” tool. Running it on new feature branches before opening a pull request gives reviewers a tidy diff and saves you from back‑and‑forth lint comments. For large refactors, you might run it once a week on the whole codebase to keep style drift in check.
Pair it with a regular eslint --fix run locally – the online version is great for fast fixes, the CLI is your safety net for everything else.
Conclusion
We’ve walked through every step of getting an online auto‑fixer to clean up your JavaScript lint woes, from configuring ESLint to committing the final diff.
At the end of the day, the magic isn’t in the tool itself – it’s in the habit of running a quick dry‑run, reviewing the diff, and letting CI seal the deal. That routine turns a one‑off “nice‑to‑have” into a reliable safety net.
So, what should you do next? Grab your .eslintrc, spin up SwapCode’s free AI debugger, and give a single file a test run. If the preview looks tidy, lock in a .eslintrc.fixable.json and push the script into your CI pipeline.
Remember, you’re still in control. If a rule ever over‑reaches, drop an // eslint-disable-next-line comment or tweak the fixable config – the tool will respect it.
By treating the online auto‑fixer as a co‑pilot rather than a replacement, you’ll keep pull requests lean, reduce back‑and‑forth with reviewers, and spend more time writing real features.
Give it a spin on your next branch and see how “auto fix eslint errors online for javascript projects” becomes a tiny habit that saves you minutes – and maybe even hours – over a sprint.
Start today, and watch your codebase stay clean without extra effort.