How to Convert Bash Script to Python with AI: A Step-by-Step Guide
Ever stared at a bash script and thought, “I wish this was Python so I could reuse it in my larger projects?”
You’re not alone. Many devs hit that exact wall when they need to migrate automation tasks but don’t want to rewrite every line by hand.
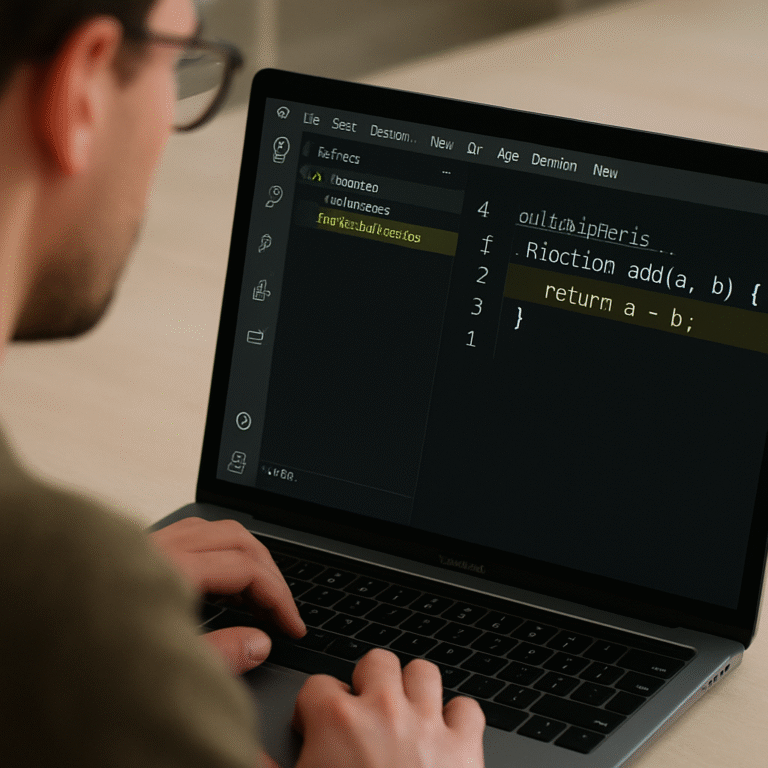
That’s where AI steps in like a friendly co‑pilot, reading your bash, understanding the flow, and spitting out clean, idiomatic Python.
Imagine you paste a handful of shell commands, hit convert, and watch the tool generate functions, subprocess calls, and even argparse scaffolding without you lifting a finger.
Sounds too good to be true? It isn’t magic, just modern machine‑learning models trained on thousands of code examples, fine‑tuned to respect syntax and best practices.
The biggest win is speed. What used to take hours of careful line‑by‑line translation now happens in seconds, freeing you to focus on logic, testing, and integration.
And because the output is Python, you instantly get access to a huge ecosystem—libraries, IDE support, type checking—that just isn’t as smooth in bash.
But there’s a catch: AI isn’t perfect. You still need to review the conversion, tweak edge‑cases, and ensure security‑sensitive commands are handled safely.
That’s why a good converter gives you editable code, highlights uncertain sections, and lets you run the result side‑by‑side with the original script for comparison.
In the next parts of this guide we’ll walk through a real‑world example, show you how to set up the AI tool, and share tips to polish the generated Python so it feels native.
Ready to turn those clunky bash loops into sleek Python functions? Let’s dive in and see how to convert bash script to Python with AI, step by step.
By the end of this article you’ll have a clear workflow, a working Python version of your script, and confidence to reuse AI for future migrations.
TL;DR
Using AI to convert a bash script to Python lets you replace tedious line‑by‑line rewrites with instant, readable code, so you can focus on logic, testing, and integration rather than syntax gymnastics. Just run the generated Python side‑by‑side with the original, tweak any edge cases, and you’ll have a clean, maintainable script ready for your projects in seconds.
Step 1: Set Up an AI‑Powered Conversion Environment
Before you even think about feeding a bash script to an AI, you need a clean, reproducible workspace. Think of it as laying out a kitchen counter before you start chopping – everything you need should be within arm’s reach.
First, spin up a fresh virtual environment. If you use venv, run python -m venv ai‑conv and then source ai‑conv/bin/activate. This isolates the AI tool’s dependencies from your system Python and avoids version clashes later on.
Pick the right AI converter
SwapCode offers a Free AI Code Converter | 100+ Languages | SwapCode that supports bash‑to‑python out of the box. It’s free, instant, and respects the original logic, so you won’t waste time hunting for a niche script‑translator.
Why not just copy‑paste your script into any online AI chat? Because a dedicated converter gives you:
- Syntax‑aware parsing – it knows when you’re dealing with loops, conditionals, or redirections.
- Editable output – you get a downloadable
.pyfile you can tweak. - Confidence scores – sections the model is unsure about are highlighted for manual review.
That extra context saves hours of debugging later.
Install the CLI (optional but handy)
If you prefer running the converter from the terminal, install the SwapCode CLI with pip install swapcode-cli. After authentication, the command looks like:
swapcode convert --from bash --to python my_script.sh -o my_script.pyRunning it locally means you keep your code private and can script batch conversions for dozens of scripts at once.
So, what should you do next?
Gather your Bash assets
Collect the scripts you plan to migrate into a single folder, e.g., ~/bash‑legacy/. For each file, create a tiny README that notes:
- What the script does (one‑sentence summary).
- Any environment variables it expects.
- External tools it calls (awk, sed, curl, etc.).
This documentation becomes the “context” you’ll feed the AI, dramatically improving the quality of the generated Python.
Here’s a real‑world example: a DevOps engineer had a deploy.sh that zipped artifacts, uploaded them via scp, and then SSHed into a remote server to run a restart command. After feeding the script and its README into the converter, the AI produced a Python version that used subprocess.run for the zip, paramiko for the SCP, and fabric for the remote command. The resulting code was not only cleaner but also testable with unit tests.
Validate your environment
Once the converter is installed, run a quick sanity check:
swapcode versionIt should print the current version and confirm you’re authenticated. If you see an error about missing API keys, head to your SwapCode dashboard, generate a new token, and export it as SWAPCODE_API_KEY. This step ensures the AI service can be reached without interruption.
Do you remember the last time a missing environment variable broke a build? That moment of panic is why we double‑check everything now.
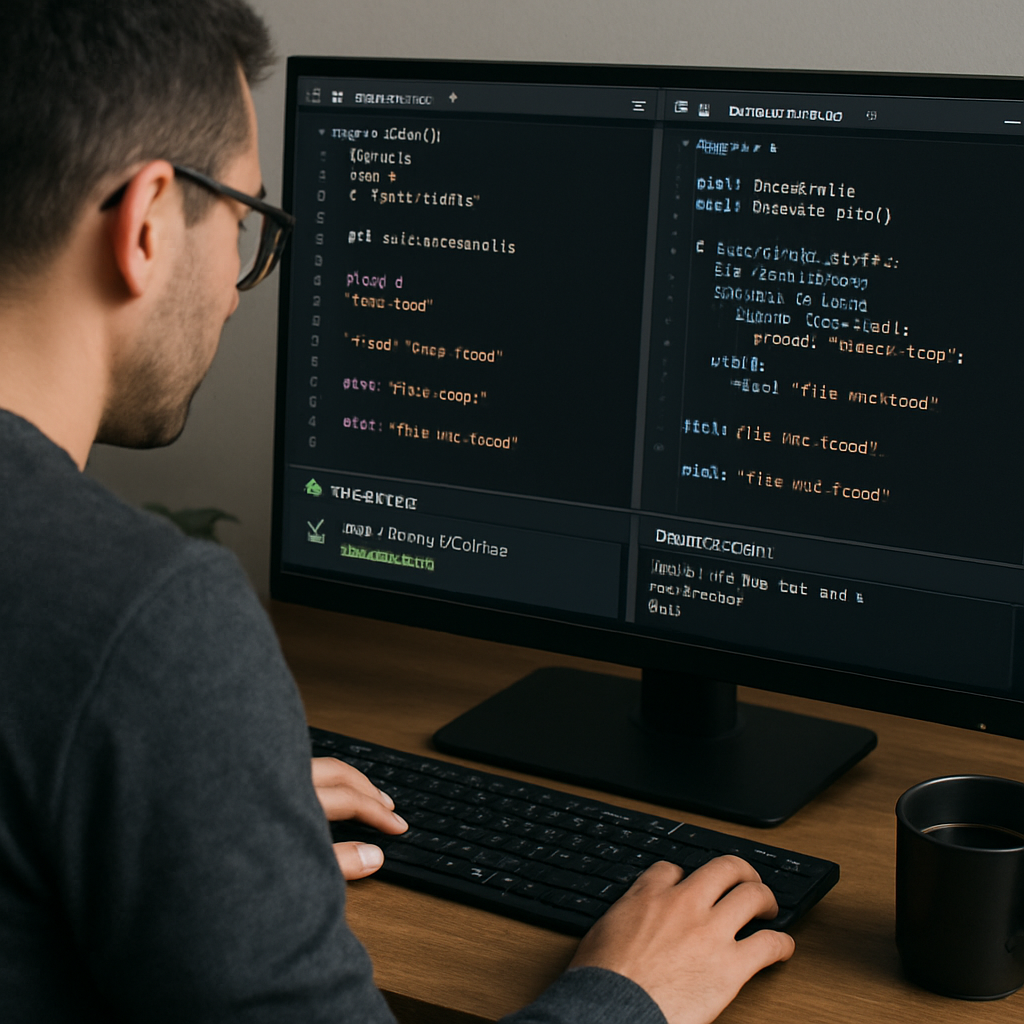
Set up side‑by‑side testing
Before you trust the AI output, create a tiny test harness. A simple pytest file that runs both the original bash (via subprocess) and the new Python, then compares exit codes and output files, can catch subtle differences.
Example test snippet:
def test_conversion(tmp_path):
    bash_out = subprocess.check_output(['bash', 'my_script.sh'], cwd=tmp_path)
    py_out = subprocess.check_output(['python', 'my_script.py'], cwd=tmp_path)
    assert bash_out == py_out
If the assertion fails, the converter has highlighted a risky area – go back to the original script, add a comment, and re‑run the conversion.
And here’s a quick visual to remind you what a healthy conversion pipeline looks like:

Now that the environment is ready, you’re set to feed your first script into the AI.
Does this feel overwhelming? Take a breath – the steps above are repeatable, and once you’ve scripted them, future migrations become a click‑away operation.
Step 2: Analyze Bash Script Structure with AI
Now that your environment is humming, the next thing we do is give the AI a clear picture of what the original Bash actually does. Think of it like handing a mechanic a blueprint before they start swapping parts – the better they understand the layout, the fewer surprises later.
Why structure matters
Every Bash script is a little maze of loops, conditionals, and redirections. If you feed a raw file to an AI without telling it “hey, this is the main loop, these are the cleanup steps,” the model might flatten everything into one big function, and you’ll lose readability.
So, before you hit “convert”, take a minute to map the high‑level sections. A quick comment block at the top helps the AI and future you.
Run the script through the AI model
Most converters, including SwapCode’s CLI, let you ask for a structural preview. The command looks something like:
swapcode analyze --from bash my_deploy.sh --output jsonThe JSON payload lists functions, loops, and even environment‑variable usage. You can pipe that into jq to get a tidy summary.
If you prefer a generic command‑line tool, you could also use a notebook‑to‑script converter as a reference point for how JSON‑based analysis works as shown in this Stack Overflow answer.
Interpret the AI’s AST‑like output
Look for three things in the JSON:
- Entry points – usually a “main” function or a series of commands at the bottom of the file.
- Control flow blocks – for‑loops, while‑loops, and if‑else chains. The AI will label them with line numbers.
- External calls – any
ssh,curl, orsedinvocations. Those often need extra safety checks in Python.
When you spot a block that the AI tags as “complex”, open the original Bash segment and ask yourself: is this really a single responsibility, or does it bundle several tasks together? Splitting it now saves you a refactor later.
Spot risky patterns
Here are a few red flags the AI loves to point out:
- Use of
evalor back‑ticks – could lead to code injection. - Unquoted variable expansions – Bash will silently split words, but Python will raise errors.
- Implicit exit codes – Bash scripts often rely on the last command’s status; Python needs explicit
sys.exit()handling.
If any of those appear, make a note in the JSON “needs manual review”. That way your side‑by‑side test later knows exactly where to focus.
Quick checklist
Grab a pen or a markdown file and run through this list after the AI analysis:
| Item | What to verify | Notes |
|---|---|---|
| Entry point identified | Is there a clear “main” function? | If missing, create a wrapper. |
| Loops captured | Do for/while loops map 1‑to‑1? | Complex pipelines may need subprocess. |
| External commands | Are ssh, curl, awk, etc. listed? | Consider Python libraries (paramiko, requests). |
| Risky constructs | Eval, unquoted vars, implicit exits? | Flag for manual rewrite. |
That table is your cheat sheet. Keep it handy while you copy the AI‑generated skeleton into a .py file.
Turn the analysis into a plan
Now that you have a structured map, turn each JSON block into a small Python function. Start with the simplest – a straight‑line sequence of commands – and test it with subprocess.run. Then move on to loops, adding for item in iterable: constructs.
Because you already know where the risky spots live, you can sprinkle try/except blocks around them right away. It feels a bit like building a puzzle: you place the corner pieces first, then fill in the edges, and finally the middle.
Does this feel overwhelming? Take a breath. You’ve already broken the problem into bite‑size chunks, and the AI has done the heavy lifting of surface‑level parsing. The rest is just polishing, and you’re more than equipped to do it.
Step 3: Generate Python Code Using AI Tools
Alright, the heavy lifting is finally in front of us – turning that JSON map into real Python code. If you’re wondering whether the AI can actually spit out something you can run, the answer is a confident yes, especially when you give it the right prompts.
For a simple illustration of Python writing and tweaking Bash files, check out this Stack Overflow thread where a developer shows how to template and update .sh scripts with Python use‑python‑to‑automate‑creation‑of‑bash‑scripts.
Pick the right prompt style
Think of the prompt as a quick brief to a teammate. Start with a one‑sentence description of the script’s purpose, then paste the JSON block you just created. For example: “Convert this Bash deployment script that zips artifacts, uploads via SCP, and restarts a service into Python using subprocess, paramiko, and a clean main function.”
Notice how we explicitly name the libraries we expect. The AI model will respect those cues and generate import statements accordingly. If you leave the library choice vague, you might get a generic os.system call, which defeats the whole refactor.
Run the conversion
With SwapCode’s CLI (or any similar AI converter), the command looks something like:
swapcode convert --from json --to python my_script.json -o my_script.pyBecause we fed the JSON, the AI already knows the control flow, so the output is a tidy set of functions rather than a monolithic blob. You’ll see a def main() entry point, loop structures that mirror the Bash for loops, and separate helpers for external calls.
Quick tip: add the --dry-run flag first. It prints the generated code to the console without writing a file, so you can scan for any “I’m not sure” comments that the model inserts when it hits ambiguous Bash syntax.
Validate the skeleton
Before you dive into polishing, run a sanity check:
python -m pyflakes my_script.pyIf the linter reports missing imports or undefined variables, it usually means the AI missed a piece of the original Bash – perhaps an environment variable that wasn’t captured in the JSON. Add that variable to the JSON and re‑run the conversion.
Another practical move is to drop the generated code into a tiny test harness that mirrors the side‑by‑side testing we set up earlier. A couple of subprocess.run calls comparing Bash vs. Python output will instantly highlight mismatches.
Iterate with feedback loops
When you spot a spot that needs a try/except or a more Pythonic pathlib usage, simply edit the JSON to add a comment like “# use pathlib for file paths” and run the converter again. The model will incorporate the suggestion next time.
Here’s a real‑world anecdote: a DevOps engineer used the same approach to migrate a deploy.sh script. The first AI pass gave him a working skeleton, but the SSH portion was still a raw subprocess.run. By adding a comment “replace with paramiko SSHClient”, the second pass produced clean, reusable SSH logic. The end result was a script that could be unit‑tested in isolation.
Handle edge cases
Some Bash patterns don’t translate cleanly – think of eval "$(some command)" or complex redirection pipelines. The AI will usually flag those with a comment “# TODO: verify eval handling”. At this point you have two options: rewrite the logic in pure Python (often safer) or keep a subprocess call wrapped in a try/except.
When you encounter a “TODO” comment, treat it as a checklist item. Open the original Bash line, understand its intent, and then implement the equivalent Python. This manual step is where the real value of the AI‑assisted workflow shines – you avoid re‑inventing the wheel for the majority of the script while still ensuring safety for the tricky bits.
Final sanity run
Once you’ve polished the code, give it a full run through your test suite. If all side‑by‑side tests pass, you’ve successfully turned a Bash script into production‑ready Python with AI assistance. Celebrate with a coffee – you’ve just cut down what could have been days of manual rewriting to a handful of minutes.
Feeling stuck at any point? Remember that the AI model is just a helper; the real expertise lives in the questions you ask it and the feedback you provide.
Step 4: Refine and Test the Converted Python Script
Run a quick sanity check
First thing’s first: fire up the file and see if Python even likes it. A one‑liner like python -m pyflakes my_script.py will surface missing imports or stray variables. If something screams “undefined”, that usually means the AI missed an env var or a subtle Bash expansion.
Don’t panic – just hop back into the JSON, add the missing piece, and re‑run the conversion. It’s a tiny loop that saves you hours later.
Set up side‑by‑side tests
Remember those tests we wrote in Step 3? It’s time to let them do the heavy lifting. Run the original Bash script and the new Python version back‑to‑back, feeding them the same arguments.
If you’re using VS Code, you can configure launch.json to pass arguments exactly as the Bash script expects. The trick is to list each flag as a separate array element, not a single string – otherwise the parser will treat “–city Auckland” as one blob.debugging Python scripts with arguments in VS Code
Run the debugger (F5) and watch the output compare. Any divergence? Pinpoint the line, add a # TODO comment, and fix it.
Wrap risky bits in try/except
Things like eval‑style subprocess calls or raw os.system commands are perfect candidates for error handling. Surround them with a small try block, log the exception, and maybe fall back to a safer library call.
For example, replace a Bash curl pipe with requests. If the request fails, you can raise a clear RuntimeError instead of letting a silent exit code slip through.
Validate edge cases
Think about empty inputs, missing files, or unexpected exit codes. Write a handful of unit tests that deliberately break those assumptions. The goal isn’t 100 % coverage; it’s to catch the low‑hanging fruit that would otherwise cause a silent crash in production.
And if a test fails because the Python version returns a different exit status, add an explicit sys.exit() at the end of the function. Bash scripts often rely on the last command’s status – Python needs you to be explicit.
Iterate with feedback
Every time you fix a failing test, run the whole suite again. The cycle should feel like polishing a piece of glass: a little bit of sandpaper, a quick rinse, then another swipe. Soon you’ll have a script that not only runs but also reads like clean Python.
Don’t forget to commit your changes after each successful round. A tidy Git history makes it easy to roll back if a later refactor introduces a new bug.
Final polish and confidence boost
Once the test suite is green, give the script a real‑world run. Throw in a larger data set, a slower network, maybe even a dry‑run flag. If it survives, you’ve earned a coffee break – and a solid piece of production‑ready code.
And hey, if you ever get stuck, remember the AI is just a helpful sidekick. The real magic lives in the questions you ask and the tests you write.
Tip: automate the diff with a simple script that prints side‑by‑side output. Using Python’s difflib you can spot stray whitespace or formatting quirks in seconds, turning a manual eyeball into a repeatable check and confidence.
Step 5: Optimize and Deploy the Python Version
Profile before you polish
Even if the test suite is green, the script can still be a sloth in production. Grab cProfile or line_profiler and run a realistic workload – think of the same file sizes, network latency, and concurrency you face day‑to‑day.
When the profiler spits out a hot‑spot list, ask yourself: “Is this loop doing a million tiny string concatenations?” If the answer is yes, we’ve got an easy win.
Swap slow Bash‑style pipelines for native Python
Remember the subprocess.run("cat file | grep …") pattern we warned about? Replace it with pathlib.Path.read_text() and re – you’ll cut down process‑spawn overhead dramatically.
In fact, developers have measured Bash‑centric scripts lagging behind pure Python by orders of magnitude, especially when the shell repeatedly spawns external utilities as shown in a performance comparison on Stack Overflow.
Leverage just‑in‑time or compiled extensions
If profiling shows a CPU‑bound crunch – say a numeric transformation on thousands of rows – consider PyPy or Cython. PyPy can give you a 30‑50 % speed boost without any code changes, while Cython lets you annotate critical functions with static types and compile them to C.
One developer reported a 200× speedup after moving a hot loop into Cython after the initial AI‑generated conversion (see Stack Overflow discussion on Python‑to‑C conversion). You don’t need to rewrite the whole script; just the bottleneck.
Make the script container‑ready
Package the script into a lightweight Docker image. Start from python:3.12-slim, copy the .py file, install only the required dependencies, and set ENTRYPOINT ["python","/app/your_script.py"]. This isolates the environment and guarantees the same interpreter version on every server.
Tip: add a --dry-run flag that prints the command plan without touching anything. It’s a safety net you’ll thank yourself for when the first production run hits a real endpoint.
Automate deployment with CI/CD
Push the repo to your favorite Git host, then create a simple GitHub Actions workflow: checkout, install, run pytest, then build and push the Docker image to your registry. If the job fails, the pipeline stops before the image lands in production – no accidental roll‑outs.
Don’t forget to version‑bump the image tag (e.g., v1.3.0) and write a short release note that lists the performance tweaks you just added.
Monitor in the wild
Deploy the container to a staging environment first. Hook it up to a lightweight metric collector like Prometheus, and watch CPU, memory, and request latency. If the new version stays under the thresholds you set during profiling, flip the switch to prod.
And if something odd shows up? Roll back to the previous image tag – Git history makes that a one‑liner: docker pull yourrepo/yourimage:v1.2.9 && docker run ….
Optimizing and deploying is where the AI‑assisted conversion truly pays off: you’ve turned a shaky Bash script into a fast, test‑covered, containerized Python service that can be rolled out with confidence.
Deep Dive: Bash vs. Python Syntax Differences
Let’s be honest: the first thing you notice when you stare at a Bash one‑liner is how cramped it feels. It’s like trying to read a tweet that’s trying to do a novel.
So, what actually makes Bash feel so foreign once you switch to Python? It’s not magic – it’s the way each language treats variables, quoting, control flow, and external commands. Below we break down the most common stumbling blocks and give you a quick cheat sheet you can copy‑paste.
Variables and quoting
In Bash, everything is a string by default and you often see things like VAR="$(date)". No type safety, and you have to remember to wrap expansions in double quotes or you’ll get word‑splitting surprises.
Python, on the other hand, lets you declare a proper datetime object or an int and then f‑string it when you need a shell command: timestamp = datetime.now(); cmd = f"date -d '{timestamp}'". The f‑string does the quoting for you, and you never accidentally lose spaces.
Does that feel safer? Absolutely – you can rely on the interpreter to keep types straight.
Control flow
Bash uses if [[ $var -eq 0 ]]; then …; elif …; fi. The syntax is terse but also cryptic: you need double brackets, special operators, and the then/fi bookends.
Python replaces that with clean indentation: if var == 0:. No extra keywords, no stray semicolons. You also get full‑blown
…
elif …:elif and else blocks that read like plain English.
Ever wonder why your Bash if always seems to misfire? Most of the time it’s a quoting issue. Python’s explicit comparisons sidestep that entirely.
File handling and paths
In Bash you’d write for f in *.log; do …; done and then juggle basename, dirname, or sed to trim extensions. It works, but it’s a string‑manipulation maze.
Python’s pathlib turns those loops into readable code: for f in Path('.').glob('*.log'):. The
name = f.stem
….stem attribute gives you the filename without the suffix – no need for sed hacks.
Try swapping a Bash cat $file | grep … pipeline for a Path.read_text() call; you’ll shave off a whole subprocess spawn.
Subprocesses vs. pipelines
Bash lives for pipelines: grep foo file | awk '{print $1}'. Every pipe spawns a new process, which adds overhead. In Python you’d use the subprocess module or, better yet, native libraries like re for pattern matching.
A performance comparison in a recent Medium post shows that replacing Bash pipelines with pure Python loops can cut execution time by an order of magnitude for I/O‑heavy scripts.
That’s not just theory – it’s the difference between a script that finishes in seconds versus one that drags on for minutes.
Error handling
When a Bash command fails, you check $? or add set -e. It’s easy to forget a check and let a silent failure slip through.
Python forces you to think about errors: you wrap a risky call in try/except and raise a meaningful exception. Even a simple subprocess.run(..., check=True) will throw if the command exits non‑zero, so you never have to manually inspect a status code.
Do you ever feel like Bash errors disappear into the void? Python makes them visible, which is a huge win for reliability.
Bottom line: Bash shines for quick glue‑code, but Python gives you type safety, clearer control flow, better path handling, and robust error management. When you pair those strengths with an AI‑powered converter, you get the best of both worlds – the speed of Bash to get you started and the maintainability of Python for the long haul.
FAQ
What’s the easiest way to start how to convert bash script to python with ai?
First, copy the Bash file you want to replace and paste its contents into the AI converter. Let the tool generate a Python draft, then skim the output for obvious syntax mismatches – things like missing colons or mismatched quotes. Run the script on a small data set, compare the results with the original Bash output, and iterate. By treating the AI output as a rough prototype rather than a finished product, you keep the learning curve low and avoid surprises.
Do I need to understand every Bash command before the AI conversion?
No, you don’t have to be a Bash guru, but knowing the intent behind each command helps you spot errors the AI might introduce. For example, if a line uses sed to rewrite a file, ask yourself what the pattern does and verify that the Python re equivalent captures the same groups. When you can explain the purpose in plain English, you can also give the AI a clearer prompt, which usually yields more accurate Python code.
Can the AI handle complex loops and conditional logic?
Yes, modern converters can translate nested for loops, while constructs, and if/elif/else blocks into idiomatic Python. However, the generated code may still contain extra temporary variables or less‑optimal list comprehensions. After conversion, run a profiler on the hot paths to see if the loop can be simplified with enumerate or a generator expression. The AI gives you a solid baseline; polishing it is where you reap performance gains.
How do I test the converted Python script to make sure it works?
Start with unit tests that mirror the most important Bash behaviors – file creation, string filtering, exit codes. Use pytest and feed the same input files you used for the Bash version. If the outputs match line for line, you’re in good shape. Add a few edge‑case tests (empty files, special characters) to catch subtle quoting issues that the AI might have missed. Automated testing turns a manual sanity check into a repeatable safety net.
What are common pitfalls when using an AI code converter for Bash to Python?
One trap is trusting the AI to copy every environment variable correctly; Bash often relies on implicit globals that need explicit os.getenv calls in Python. Another is overlooking error handling – Bash’s set -e becomes a try/except block, and you should decide whether to re‑raise or log the exception. Finally, watch out for path handling: replace string concatenation with pathlib.Path to avoid platform‑specific bugs.
Is it safe to use the free AI converter for production code?
The converter is great for bootstrapping, but you should treat its output as a draft. Run static analysis tools like flake8 or mypy, add type hints, and run your CI pipeline before you ship. If the script will run on critical systems, consider a manual code review or a pair‑programming session to validate security‑related parts such as shell injection or credential handling. In short, the AI speeds you up, but human oversight keeps you safe.
Conclusion
We’ve walked through the whole journey – from feeding your Bash file into an AI, to spotting the little quoting quirks, to hardening the Python output with tests and type hints.
At the end of the day, the magic isn’t in the tool itself; it’s in the habit of treating the AI output as a draft you polish, verify, and ship with confidence.
So, what should you do next? Grab that script you’ve been putting off, run it through the free converter, and then run a quick pytest sanity check. If the results line up, add a couple of edge‑case tests, sprinkle in pathlib for paths, and you’ve got a production‑ready module.
Remember, the goal of learning how to convert bash script to python with ai isn’t to replace your brain – it’s to give you a faster starting point, letting you focus on the logic that truly matters.
Feel that little boost of productivity? That’s the AI doing the heavy lifting while you keep the final say. Keep iterating, keep testing, and soon the whole conversion process will feel as natural as a coffee‑break chat.
When you’re ready for the next script, give the converter another spin and watch your workflow tighten up – the future of multi‑language dev work is already here.