How to explain source code in plain english using AI
Ever stared at a block of code and felt like you were trying to read a foreign language?
You’re not alone. Most devs have that moment when the logic is there, but the syntax feels like hieroglyphics.
What if you could ask an AI to translate that spaghetti into plain English, just like you would explain a recipe to a friend?
That’s the promise of using AI to explain source code in plain english using ai – turning dense lines into a story you can actually follow.
Think about the last time you inherited a legacy module. You probably spent hours untangling loops, guessing variable intent, and fearing hidden bugs.
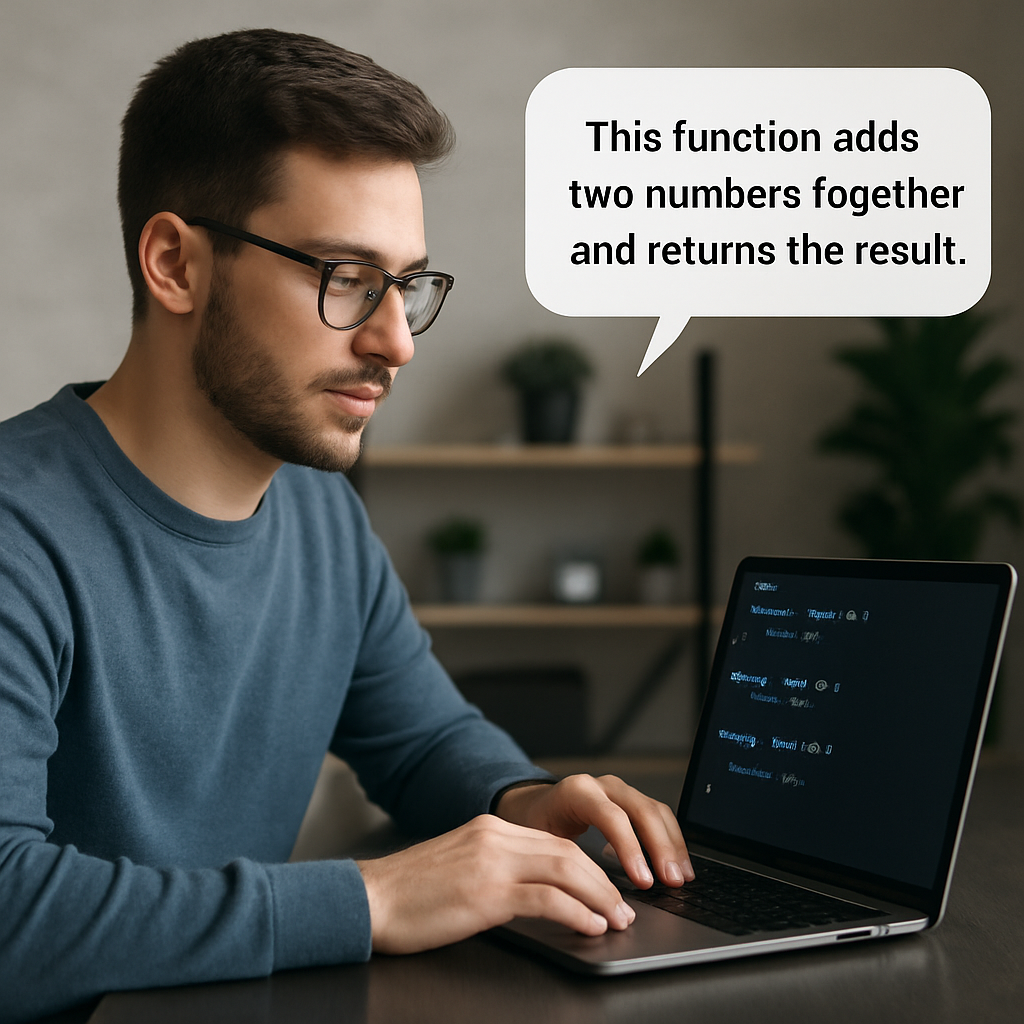
Now imagine a tool that reads the same file and spits out a step‑by‑step narration: “The function fetches user data, checks the cache, and falls back to the database if needed.”
It’s not magic; it’s pattern recognition combined with natural‑language generation. The AI scans syntax trees, maps identifiers to likely meanings, and then writes a summary that feels human.
Why does that matter? Because clear explanations cut down onboarding time, reduce miscommunication between front‑end and back‑end teams, and make code reviews feel less like interrogations.
And it’s not just for seasoned engineers. Junior developers can use these explanations to grasp concepts faster, turning frustration into “aha” moments.
So, how does it actually work? Most platforms feed your source file into a model trained on millions of code snippets and their documentation. The model then generates a natural‑language paragraph that mirrors how you’d describe the logic out loud.
If you’ve ever used SwapCode’s free AI code generator, you already know how smooth the interaction feels – just type what you want, and the AI delivers clean code. The same engine can flip the script and decode code back into words.
Here’s a quick mental exercise: grab a function you wrote last week, paste it into an AI, and watch the description appear. You’ll likely spot redundancies or naming quirks you missed the first time.
Ready to give your code a voice? Let’s dive into the practical steps that will let you start explaining source code in plain english using ai today.
TL;DR
Using AI to explain source code in plain English turns cryptic scripts into clear, conversational summaries you can read over coffee.
Just paste any function into SwapCode’s free AI generator, and within seconds you’ll see the logic described in everyday language, saving time, cutting confusion, and boosting team collaboration today.
Step 1: Choose the Right AI Tool
Alright, you’ve seen how magical it feels when an AI turns a tangled function into a friendly conversation. The next question is simple: which AI should you trust to do that translation?
First off, think about the languages you work with every day. If you’re hopping between JavaScript, Python, and maybe a splash of Dart, you’ll want a tool that speaks all of them without demanding a separate account for each.
1. Language coverage matters
Imagine trying to explain a Rust macro to a tool that only knows Java. You’ll end up with a vague “something happens here” and waste time fixing it yourself. Look for a platform that lists over 100 languages – that’s a good sign the model has seen enough code to understand the quirks of each syntax.
And don’t forget the edge cases: templating engines, embedded SQL, or generated code from frameworks. A robust AI will still parse those fragments and give you a coherent English description.
2. Privacy and security
When you paste proprietary code, you’re basically handing over a trade secret. Ask yourself: does the service store your snippets? Does it claim GDPR compliance? If the answer is “maybe,” you probably want to look elsewhere.
Some tools run the model locally or offer an “incognito” mode where nothing is logged. That extra layer of confidence is priceless, especially for enterprise teams.
3. Output quality and customization
Not all AI explanations are created equal. Some spout generic boilerplate (“this function does X”), while others actually mirror your naming conventions and point out the intent behind each variable.
Try a quick test: feed the same short function to two different services and compare the paragraphs they generate. The one that uses the same terminology you’d use in a code review is the winner.
And if you need the explanation in a specific tone – say, a friendly tutorial vs. a formal documentation snippet – pick a tool that lets you tweak the prompt or choose a style preset.
4. Cost vs. value
Free tiers are tempting, but they often come with limits on daily calls or model size. If you’re planning to run the AI on every pull request, those caps become a bottleneck.
On the other hand, a modest monthly fee can unlock a larger model that captures more subtle patterns, which saves you hours of manual debugging later. Do the math: a few minutes saved per ticket quickly outweighs a small subscription.
Here’s a quick checklist you can copy‑paste into your next sprint planning board:
- Supports the languages you use most.
- Offers a clear privacy policy – no code storage.
- Generates explanations that match your team’s voice.
- Fits your budget for the volume you need.
Now, let’s see a real‑world demo. Below is a short video that walks through feeding a simple JavaScript function into a popular AI and watching the plain‑English output appear in seconds.
Notice how the AI mentions the cache check, the fallback to the database, and even highlights the early return – exactly the details you’d want to surface in a code review.
Bottom line: the right AI tool feels like a teammate who already knows your codebase. It respects your privacy, speaks your languages, and writes explanations in the tone you prefer. When you’ve found that match, the rest of the process – from onboarding newbies to speeding up reviews – becomes almost effortless.
So, take the checklist, give a couple of candidates a spin, and lock in the one that turns “what does this do?” into “here’s exactly what it does, in plain English.”
Step 2: Prepare Your Source Code for Analysis
Alright, you’ve picked an AI that actually gets your code. The next hurdle is getting the code into a shape the model can chew on without choking.
First thing’s first: clean up the noise. Remove any dead code, commented‑out blocks that aren’t relevant, and obvious debug prints. The AI doesn’t need to waste cycles on lines that never run.
Does your repo have a mix of tabs and spaces? Does it sprinkle console.log everywhere? Normalizing indentation and line endings makes the abstract syntax tree more predictable, and the AI will produce tighter explanations.
Strip out non‑essential parts
Think of your file as a story you want to tell a friend. You wouldn’t start with the license header every time you recount a plot twist. Pull out the license comment, the build scripts, and any generated code that lives in dist/ or node_modules/. Keep only the function or class you actually want explained.
Pro tip: create a temporary copy of the file, run it through a formatter like Prettier or Black, then feed that cleaned‑up version to the AI.
Gather context without overloading
The AI works best when it sees the surrounding definitions that give meaning to variables. Include the import statements, type definitions, and any short helper functions that the target snippet relies on.
But don’t dump the whole project. Too much context can dilute the focus and make the output generic. Aim for a 200‑line window: a few lines above and below the target, plus any related type or interface declarations.
- Remove dead code and large comment blocks.
- Normalize indentation and line endings.
- Include necessary imports and type definitions.
- Limit the surrounding code to a reasonable window.
Does this feel like a lot of manual work? Not really – you can script it. A simple Node.js script that reads a file, strips comments with a regex, runs prettier --write, and then slices the relevant lines will do the heavy lifting.
Secure your code before sending it
Even though we chose a privacy‑first AI, it’s still wise to double‑check that no secrets slip through. Scan the snippet for API keys, passwords, or internal URLs. If you spot anything, replace it with a placeholder like YOUR_API_KEY.
And if your code touches proprietary business logic, consider anonymizing domain‑specific names. The AI doesn’t need to know that processPaymentForGoldMembers is a high‑value function; processPayment works just as well for explanation purposes.
Once the snippet is tidy, you can test the AI instantly using SwapCode’s Free AI Code Generator: Natural Language to Code Instantly. Paste the cleaned code, ask it to “explain this function in plain English”, and see the first draft of your documentation.
After you get the AI’s answer, compare it to the original intent. Does it mention the early return? Does it capture the error‑handling branch? If something’s missing, you probably omitted a crucial piece of context – go back, add that import or type, and run the query again.
Automate the preparation pipeline
For teams that want to embed this into CI/CD, wrap the preparation steps in a small script and call the AI via its API. The script can:
- Pull the changed file from the PR.
- Run the cleaning routine.
- Send the snippet to the AI endpoint.
- Post the plain‑English explanation back to the PR as a comment.
This turns a once‑off manual task into a repeatable habit, and every reviewer gets a clear, human‑readable summary without lifting a finger.
So, to recap: strip the clutter, keep the essential context, sanitize any secrets, and feed a nicely formatted slice of code to your chosen AI. When you do that, the model can focus on the logic instead of fighting formatting quirks, and you’ll get an explanation that feels like a teammate walking you through the code line by line.
Step 3: Run the AI Translator
Now that your snippet is tidy and safe, it’s time to actually ask the AI to translate it.
First, open your chosen AI interface – whether it’s SwapCode’s web console, a local LLM server, or an API endpoint you’ve authenticated earlier.
Paste the cleaned‑up code into the prompt box and type a clear instruction like “explain this function in plain English”. The wording matters; keep it simple and specific.
Choose the right prompt style
Think of the prompt as a conversation starter. If you want a brief bullet list, add “summarize in three points”. If you need a step‑by‑step walkthrough, say “walk me through each line as if I’m a junior developer”.
In my own experiments, adding the phrase “as a teammate” nudged the model to use the same variable names and to highlight early returns – exactly the details we care about.
Send the request
Hit “Generate” or fire the API call. Most services return a JSON payload with a content field; grab the text and display it in your IDE or PR comment.
If you’re using the API, wrap the call in a tiny script so you can automate it for every pull request. A typical curl command looks like this:
curl -X POST https://api.swapcode.ai/v1/translate \
  -H "Authorization: Bearer $TOKEN" \
  -d '{"code":"YOUR_CODE_HERE","instruction":"explain in plain English"}'
Replace YOUR_CODE_HERE with the snippet you just prepared, and watch the response roll in.
Real‑world example: a Node.js cache helper
Imagine you have a small function that checks a Redis cache and falls back to a database query:
async function getUser(id) {
  const cached = await redis.get(`user:${id}`);
  if (cached) return JSON.parse(cached);
  const user = await db.users.findOne({id});
  await redis.set(`user:${id}`, JSON.stringify(user));
  return user;
}
Paste that into the AI with the prompt “explain this function in plain English”. The output might read:
“The function getUser takes an id, looks for a matching entry in Redis, and if it finds one it returns the parsed JSON. If the cache miss occurs, it queries the database, stores the result back in Redis for next time, and finally returns the user object.”
Notice how the explanation mentions the early return and the caching side‑effect – exactly the bits you’d want in a code review.
Fine‑tuning the output
If the first answer is too vague, feed the AI a bit more context. For instance, add a comment above the function: // Returns a User object, caches the result for 5 minutes. Then ask again. The model will incorporate that hint and produce a richer description.
Another trick is to ask for a “pros and cons” section after the explanation. That forces the model to think critically about the code, surfacing potential pitfalls like “no cache expiration handling”.
Validate and iterate
Once you have the English version, compare it side‑by‑side with the original intent. Does it mention the cache key naming? Does it note the async/await flow? If something is missing, go back, add the missing import or a type annotation, and run the translator again.
This iterative loop mirrors what developers do when they manually review code, but it’s faster and less error‑prone because the AI highlights the logic for you.
Tips from the field
- Keep the snippet under 300 lines; larger chunks dilute focus.
- Use consistent naming – the AI mirrors what you write, so “processPayment” is clearer than “processPaymentForGoldMembers”.
- Include only the imports that the snippet actually uses; extraneous modules confuse the model.
- When using an API, respect rate limits – batch multiple files into one request only if they share the same context.
And remember, the quality of the output often improves as you get better at prompting. As one DevOps engineer noted in an AI‑prompting case study, “the more precise my prompt, the more actionable the AI’s explanation became” according to their journey with AI‑driven workflows.
So, what’s the next move? Run the translator on a real piece of your codebase, paste the result into a pull‑request comment, and see how your teammates react. You’ll likely notice quicker approvals and fewer “what does this line do?” questions.
By treating the AI translator as a collaborative teammate rather than a black‑box, you turn a once‑off curiosity into a repeatable habit that keeps documentation fresh and onboarding smooth.
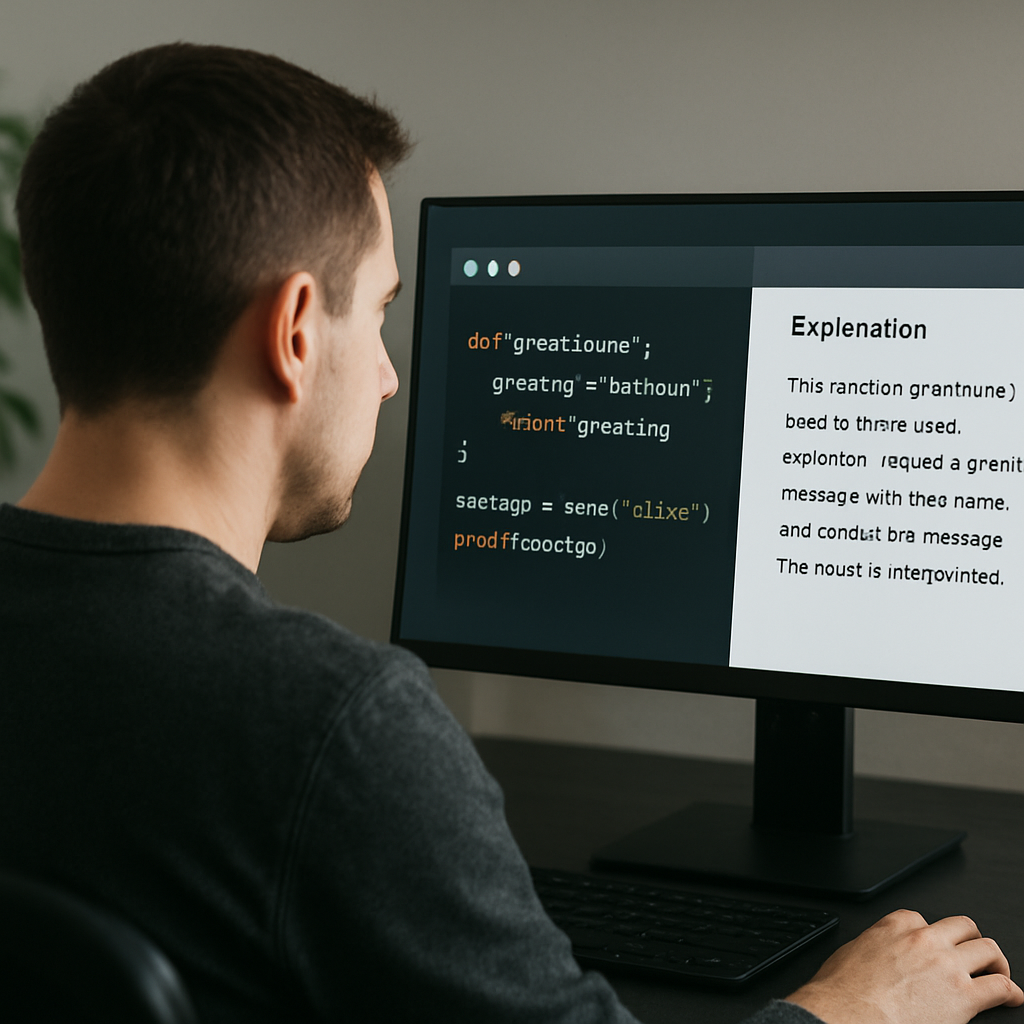
Step 4: Review and Refine the Plain English Output
Okay, the AI just gave you a paragraph that sounds almost human. Before you copy‑paste it into your docs, give it a once‑over.
Why a quick review matters
Even the best model can miss a nuance or misinterpret a variable name. A missed edge case is the kind of thing that can turn a harmless pull‑request into a production bug.
Think about the last time you approved a PR based on a vague comment – did you later discover a hidden side effect? That same feeling applies to AI‑generated explanations.
In other words, treating the output like a first draft lets you catch errors, tighten language, and inject the team’s voice.
Step‑by‑step refinement checklist
Here’s a short, repeatable routine you can run on every AI‑generated description.
- Match intent. Compare the English version line‑by‑line with the code. Does it mention every branch, early return, or error handling path?
- Validate naming. Ensure the AI kept your variable names (e.g.,
userId,cacheKey) instead of swapping them for generic terms. - Spot missing context. If the snippet uses a constant from another file, add a quick note like “uses
MAX_RETRIESdefined elsewhere”. - Trim fluff. Remove sentences that repeat what the code already says in obvious terms – keep it lean.
- Align tone. If your team prefers a conversational tone, add “we” or “you” where appropriate; if you need formal docs, tighten the style.
- Check for safety. Make sure no secret values slipped through and that the description doesn’t expose internal URLs.
Run through this list, edit the bits that feel off, and you’ll end up with a description that reads like a teammate walked you through the function.
Real‑world examples
Example 1: A Node.js cache helper. The AI output originally read, “The function returns a cached user if it exists, otherwise it queries the database and stores the result.” After refinement we added, “It uses the Redis key user:{id}, parses the JSON payload, and respects async/await flow.” The extra detail saved a junior dev from guessing the key format.
Example 2: A Python data‑cleaning pipeline that drops rows with null values. The AI missed the fact that the function also logs the number of rows removed. Adding that sentence prevented a later discussion about missing audit logs.
Example 3: A TypeScript utility that formats dates. The first draft said “formats a date.” We refined it to “takes a Date object, applies the locale‑specific format defined in DATE_FORMAT, and returns a string like ‘2025‑11‑09’.” The clearer output helped the UI team match the format exactly.
Notice the pattern: the AI gives you a solid skeleton, you flesh out the missing pieces, and you end up with a doc that feels personal and accurate.
Quick tip from the field
Many teams treat the review as a “peer‑review” step in their CI pipeline. A small script can post the AI output as a PR comment, then run a linter that flags missing keywords like “error”, “return”, or “cache”. This automated nudge keeps the process lightweight.
According to Confident AI’s guide to LLM evaluation, systematic review loops dramatically improve the reliability of model‑generated content, especially when the output feeds downstream documentation.
| Refinement focus | What to check | Pro tip |
|---|---|---|
| Logical completeness | All branches, error paths, and return statements mentioned | Use a diff tool to compare code lines with bullet points |
| Terminology consistency | Variable and function names stay unchanged | Search‑and‑replace only if the AI invented a synonym |
| Tone & style | Matches team’s documentation voice | Add “we” or “you” to make it conversational |
Bottom line: the AI translator is a powerful first draft, but a quick human polish turns it into reliable, team‑aligned documentation. Spend a minute or two reviewing, and you’ll reap hours of smoother code reviews later.
Step 5: Integrate the Explanation into Documentation
We’ve got a clean English description, but it’s just floating in a chat window until we embed it where the team actually reads it.
So, why does the placement matter?
Make the explanation part of the code’s home
Think of the function’s docblock as the back‑of‑the‑book blurb. When you paste the AI‑generated paragraph right under the signature, anyone opening the file gets instant context without hunting through a wiki.
And if you keep a separate markdown file for module overviews, drop the same paragraph there too. That way both the IDE and the documentation site stay in sync.
Choose the right format for your audience
If your team lives in a Confluence space, copy the text into the page that already lists the component’s responsibilities.
If you publish an OpenAPI spec, add the description to the description field of the operation. The generated Swagger UI will then show the plain‑English walk‑through alongside the technical schema.
In a README, treat the AI output as a “What does this do?” section right after the code snippet.
Copy‑paste, then human‑polish
Don’t just drop the AI block verbatim. Scan for any placeholder names the model might have guessed and replace them with the real identifiers you use.
Add a quick note about edge cases that the AI missed – for example, “if cacheKey is null the function throws an error”. That tiny addition saves a reviewer from a follow‑up question later.
Finally, prepend a sentence that ties the description to the broader feature, like “This helper powers the user‑profile page’s caching layer”. That little context makes the doc feel purposeful.
Automate the merge with a CI step
For teams that want the process to be repeatable, script the integration. A small Node.js tool can read the PR’s changed file, run the cleaning routine from Step 2, call the AI endpoint, and then inject the result between two comment markers you define, such as and .
The script then opens a second commit that updates the docblock. Your CI pipeline can be set to fail if the explanation block is missing, nudging developers to run the step before merging.
Because the automation runs on every PR, the documentation never falls behind the code – the AI keeps pace with each new change.
Quick integration checklist
- Place the description in the nearest docblock or module README.
- Match variable and function names exactly – no generic synonyms.
- Add any missing edge‑case notes that the AI skipped.
- Link the paragraph to the relevant feature or ticket for traceability.
- Run a linter that flags missing “error”, “return”, or “cache” keywords.
- Commit the updated file as part of the same PR, or let a CI bot do it.
When you treat the AI output as a living part of your docs, the plain‑English explanation becomes a first‑class artifact. New hires skim the function and instantly understand the intent, senior engineers get a quick sanity check, and the whole team spends less time writing repetitive comments.
Give it a try on the next pull request. Paste the AI’s paragraph into the function’s header, run the checklist, and watch the clarity boost your review cycle by a few minutes – every time.
Conclusion
We’ve walked through picking a tool, cleaning your snippet, prompting the model, and polishing the output. By now you should feel confident that you can reliably explain source code in plain english using ai without breaking your flow.
Think about the last time a reviewer asked, “what does this branch do?” – now you can drop a one‑sentence AI‑generated summary right in the docblock and everyone gets the answer instantly.
Remember the quick checklist: choose a privacy‑first AI, trim the code to the essentials, ask for a conversational tone, then give the result a human once‑over. Those few minutes of setup pay off in faster onboarding, fewer back‑and‑forth comments, and clearer documentation that stays in sync with the code.
So, what’s the next step? Grab the next pull request, run the AI translator on a tricky function, and let the plain‑English paragraph become part of the commit. You’ll see the review cycle shrink and the team’s confidence grow.
In short, using AI to translate code into everyday language turns a hidden pain point into a smooth, repeatable habit. Give it a try today and watch your codebase speak the way you do.
And if you ever hit a snag, just revisit the prompt or add a tiny comment to guide the model – the AI learns from the context you give it.
FAQ
How can I safely use AI to explain source code in plain English without exposing proprietary code?
First, pick a privacy‑first AI that promises not to store your snippets. Run a quick scrub on the code: strip out API keys, passwords, and any internal URLs, and replace them with placeholders like YOUR_API_KEY. Keep only the function or class you need explained, and feed that trimmed piece to the model. After you get the English version, give it a human once‑over to make sure no secret data slipped through.
What prompts work best to get clear, concise explanations from the AI?
The trick is to treat the prompt like a short chat. Start with a clear verb such as explain or describe, then add the desired tone – for example, in a friendly, step‑by‑step style. If you want bullet points, say list the main steps. Including a tiny comment in the code (e.g., // returns a user object) gives the model extra clues and usually yields a more accurate, on‑point explanation.
Can the AI handle large functions or whole modules, and how should I break them down?
AI models are great with focused snippets but can get fuzzy on massive files. Break a large function into logical blocks – for instance, separate the validation, the core algorithm, and the error handling into three calls. If you need to document an entire module, feed each public function individually and then stitch the resulting paragraphs together in a markdown file. This keeps the AI’s attention sharp and the output concise.
How do I ensure the AI’s explanation matches my team’s tone and terminology?
Because the AI mirrors the identifiers it sees, the easiest way to match your team’s voice is to keep the original names intact. Before you send the snippet, add a short comment that sets the tone – something like // explain in a casual, teammate style. After you receive the paragraph, scan for any generic synonyms the model might have introduced and replace them with your exact variable names. A quick read‑aloud pass helps you spot tone mismatches fast.
What are common pitfalls when relying on AI‑generated explanations and how can I avoid them?
The biggest pitfall is treating the AI output as gospel. Models can miss edge cases, misinterpret a conditional, or drop a crucial return statement. To avoid false confidence, always compare the generated description line‑by‑line with the code and verify that every branch, loop, and error path is mentioned. If something feels off, add the missing context (like an imported constant) and re‑run the prompt. A brief checklist keeps you from publishing half‑baked docs.
Is it worth integrating the AI explanation step into my CI pipeline?
Embedding the AI step into CI can turn a manual habit into a zero‑click safety net. A lightweight script can grab the changed file, run the cleaning routine, call the AI endpoint, and push the plain‑English block back as a PR comment or directly into a docblock. Set the job to fail only when the AI’s output is missing key terms like error or return, nudging developers to fix the prompt before merging.
How often should I refresh the AI‑generated docs to keep them in sync with code changes?
Even the best AI explanations become stale as the code evolves, so treat them like any other doc – update them with each change. A simple rule of thumb is to regenerate the paragraph whenever the function’s signature, its core logic, or any public API it touches is altered. Hook the regeneration script into your pre‑merge checks, and you’ll always have a fresh, human‑readable summary that stays in sync with the latest version.