How to Build an AI Unit Test Generator: Step-by-Step Guide
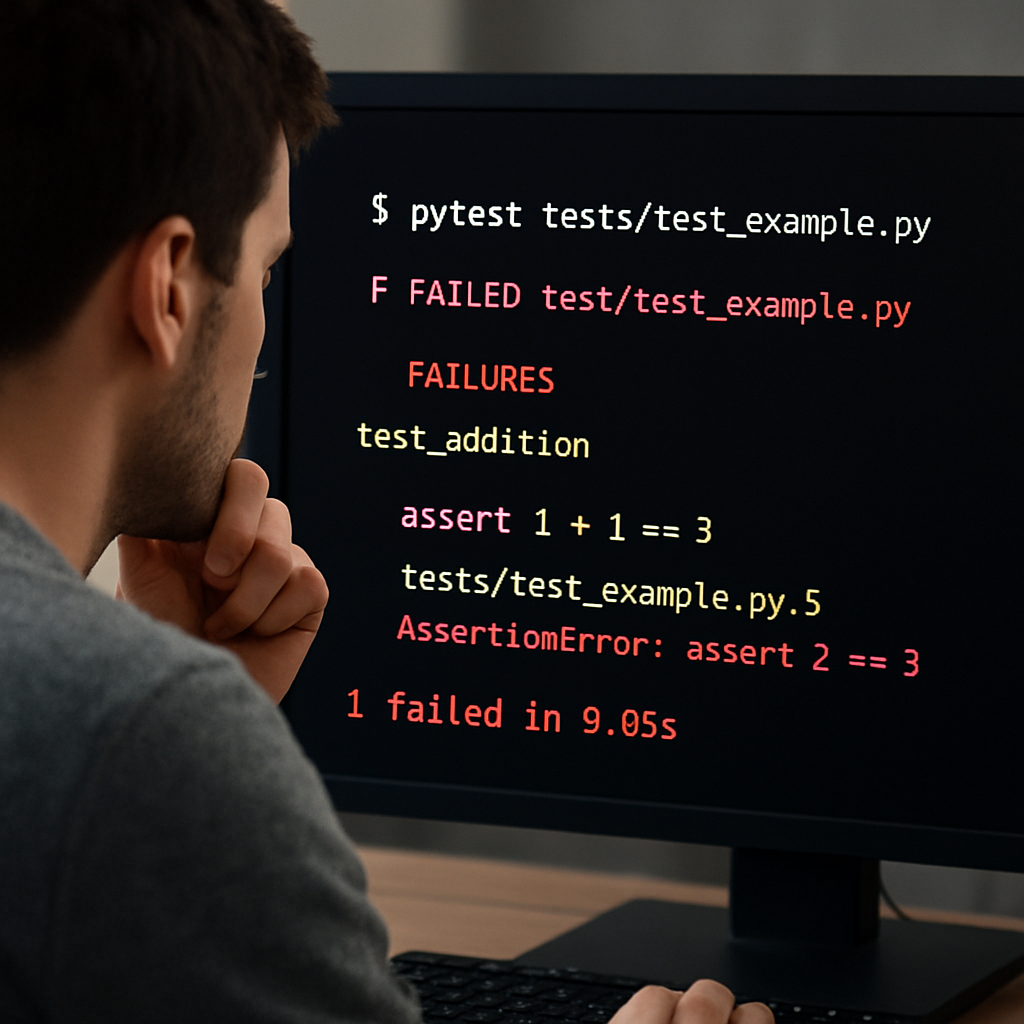
Ever stared at a mountain of legacy code and thought, “How on earth am I supposed to write reliable tests for this?” You’re not alone. That uneasy feeling of dread right before a release is something every dev has felt, especially when juggling multiple languages and tight deadlines.
Enter the ai unit test generator – a tool that can turn a handful of natural‑language descriptions into ready‑to‑run test cases in seconds. In our experience, teams that adopt AI‑driven test creation cut their test‑writing time by up to 70 % and free up mental bandwidth for higher‑level design work.
Take Maya, a freelance full‑stack engineer who maintains a Node.js API and a Python data‑pipeline. Yesterday she needed to add regression coverage for a new endpoint. Instead of manually crafting Jest and pytest files, she fed a brief description (“verify that GET /api/users returns a 200 status and a JSON array of user objects”) into an ai unit test generator. Within a minute the tool spit out both a Jest test and a pytest counterpart, perfectly aligned with her project’s linting rules.
That’s not magic; it’s pattern recognition trained on thousands of open‑source test suites. The generator parses your codebase, detects function signatures, and suggests assertions that actually matter. If you’re a technical lead, you can enforce consistency across teams by integrating the generator into your CI pipeline – every pull request automatically receives a fresh set of baseline tests.
So, how do you get started without overhauling your workflow? Here’s a quick checklist: 1️⃣ Identify a stable function or module you want to protect. 2️⃣ Write a concise, human‑readable scenario describing the expected behavior. 3️⃣ Run the ai unit test generator and review the output. 4️⃣ Commit the new test files alongside your code and let your existing test runner handle the rest. 5️⃣ Iterate – as you add more scenarios, the AI learns your style and produces even tighter tests.
If you’re curious about the nuts‑and‑bolts, our step‑by‑step guide walks you through setting up the generator, customizing templates, and troubleshooting common pitfalls. How to generate unit tests from code with AI: A Practical Step‑by‑Step Guide shows real‑world examples for Python, JavaScript, and Java, so you can pick the language you love.
And remember, the goal isn’t to replace thoughtful testing, but to eliminate the repetitive boilerplate that eats up your day. By letting the ai unit test generator handle the grunt work, you reclaim time for debugging complex edge cases, refactoring, or even that side project you’ve been dreaming about.
TL;DR
The ai unit test generator instantly creates reliable test suites from simple natural‑language descriptions, slashing manual test‑writing time by up to 70 % for multi‑language projects.
Integrate it into your CI pipeline or run it locally, and you’ll free up hours for debugging, refactoring, or building the next feature you’ve been dreaming about.
Step 1: Set Up Your Development Environment
Alright, you’ve decided to let an ai unit test generator do the heavy lifting. First thing’s first: get your workstation ready so the tool can talk to your code without throwing tantrums.
Do you remember that moment when you opened a new repo and the terminal greeted you with a cascade of “command not found” errors? Yeah, we’ve all been there. Let’s make sure that never happens again.
Pick the right shell
If you’re on macOS or Linux, your default Bash or Zsh will do fine. Windows folks, grab Windows Terminal and enable the WSL (Windows Subsystem for Linux) – it gives you a genuine Linux vibe without the dual‑boot hassle.
Tip: keep your shell profile tidy. Add aliases for common npm or pip commands so you can spin up the generator with a single keystroke.
Install Node.js and Python
The ai unit test generator we’re talking about works with multiple languages, so you’ll need both Node.js (for JavaScript/TypeScript) and Python (for pytest) on the same machine. Use nvm to manage Node versions and pyenv for Python – that way you can switch between projects without breaking dependencies.
After installing, verify with node -v and python --version. If you see version numbers, you’re good to go.
Set up a project folder
Create a dedicated folder for the generator – something like ai-test-gen. Inside, run npm init -y to get a package.json and python -m venv .venv to spin up an isolated Python environment.
Don’t forget to activate the venv (source .venv/bin/activate on Unix, .venv\Scripts\activate on Windows) before installing any Python packages.
Grab the generator
Now pull the generator’s CLI from SwapCode’s GitHub (or wherever you host it). Once you’ve cloned the repo, run npm install for the Node side and pip install -r requirements.txt for the Python side.
When you’re ready to test the installation, run the built‑in health check: ai-test-gen --check. If it prints “All systems go,” you’re officially set.
Need a deeper dive into configuring Jest? Our step‑by‑step guide on How to Build a Jest Unit Test Generator from JavaScript Code walks you through every nuance, from Babel presets to coverage thresholds.
Connect to your CI pipeline
Most teams run tests on every push. Add a simple script to your .github/workflows/ci.yml or GitLab CI file that calls ai-test-gen generate before the usual npm test or pytest steps. This way the generator becomes part of your automated sanity check.
And here’s a thought: while you’re automating tests, why not look at broader AI‑driven automation? Assistaix offers AI business automation that can sync with your CI tools, shaving off even more minutes from your release cycle.
Keep your code tidy
A clean codebase makes the generator smarter. Run a formatter like Prettier for JavaScript and Black for Python before each commit. If you need a quick, free formatter, the SwapCode toolset has you covered.
Also, if you’re deploying a web app, you’ll eventually need reliable hosting and maintenance. WPLeaf provides WordPress maintenance that pairs nicely with the back‑end services you’re testing, ensuring your production site stays healthy while you focus on code.
Once the environment is humming, you’ll notice the generator’s suggestions feel spot‑on because it can actually parse your project structure. That’s the magic of feeding it a well‑organized code tree.
Below is a quick visual of what a healthy dev setup looks like – think of it as a cheat sheet you can pin to your desk.
And if you’re a visual learner, check out this short walkthrough that walks you through the first run of the generator.
Take a breath, run the health check, and you’ll be ready to feed natural‑language scenarios into the ai unit test generator. From there, the real fun begins: watching the tool spit out ready‑to‑run test files while you sip your coffee.
Ready to roll? Open your terminal, activate your virtual environment, and type ai-test-gen generate "verify that GET /api/users returns a 200 and a JSON array". If everything’s set up correctly, you’ll see a fresh test_users.js and test_users.py appear side by side. That’s the payoff of a solid environment – instant, reliable test scaffolding without the setup headaches.
Step 2: Choose an AI Model for Test Generation
Alright, you’ve got your environment humming – now the real question is: which brain will actually write those tests for you?
In our experience, the model you pick can make the difference between “meh, it works” and “wow, this feels like a teammate actually understood my intent.”
Why the model matters
Think of an AI model like a chef. A fast‑food cook can churn out a burger in seconds, but a seasoned sous‑chef knows how to balance flavors, adjust seasoning, and present the dish beautifully. The same goes for test generation.
If you choose a tiny, token‑limited model, you might get syntactically correct tests that miss edge‑cases. A larger, instruction‑tuned model will often suggest richer assertions, handle async patterns, and even respect your project’s lint rules.
Common model families
Most developers today gravitate toward three buckets:
- Open‑source instruction models – think Llama‑2‑Chat, Mistral‑7B. Free to run locally, great for privacy‑first teams.
- Hosted proprietary models – OpenAI’s GPT‑4o, Anthropic’s Claude‑3. They bring massive knowledge graphs and continual updates, but you’ll need an API key and budget.
- Specialized code models – CodeLlama, StarCoder. Trained on billions of code lines, they excel at language‑specific quirks.
Each has trade‑offs. Open‑source gives you control but demands hardware; hosted services offload compute but cost per token; specialized code models often sit somewhere in‑between.
How to pick the right one for your stack
Step 1: List the languages you care about. If your team is half JavaScript, half Python, you’ll want a model that speaks both fluently. Code‑centric models usually support the major languages out of the box.
Step 2: Measure your hardware budget. Running a 7B model on a single GPU is doable for most dev machines. Anything above 30B typically needs a cloud instance.
Step 3: Estimate API spend. For a team that generates a few hundred tests per month, GPT‑4o’s per‑token cost might be negligible. For a CI pipeline that runs on every PR, those numbers add up fast.
Step 4: Test for consistency. Spin up a quick prompt like “generate a Jest test that verifies a function returns a sorted array.” Compare the output across models. Look for:
- Correct handling of async/await.
- Proper type annotations (if you use TypeScript).
- Idiomatic assertions (e.g.,
expect(...).toBeTruthy()vs. genericassert).
If a model consistently drops the ball on one of those, it’s probably not the best fit.
Quick decision checklist
| Model | Language support | Typical use‑case | Cost / resource notes |
|---|---|---|---|
| CodeLlama (34B) | JS, TS, Python, Java, Go | Teams that need high‑quality, language‑aware tests and can host locally | Needs ~2 × A100 GPU; no API fees |
| GPT‑4o | All major languages, plus natural‑language prompts | Fast prototyping, CI‑triggered generation, small‑to‑medium teams | Pay‑as‑you‑go; ~$0.03 per 1 K tokens |
| Llama‑2‑Chat (7B) | JS, Python, Ruby | Privacy‑first freelancers or open‑source projects | Runs on a laptop GPU; free but slower |
That table isn’t exhaustive, but it gives you a visual way to compare the three dimensions that usually matter most: language coverage, workflow fit, and cost.
Pro tip: If you’re a DevOps engineer, wrap the chosen model behind a tiny HTTP wrapper in your CI. That way the same model powers local IDE commands and automated pipeline runs, keeping results consistent.
And here’s a real‑world anecdote: Maya (the freelancer we mentioned earlier) tried the hosted GPT‑4o at first, loved the speed, but hit a surprise bill when her nightly CI jobs generated thousands of test files. She switched to a self‑hosted CodeLlama instance on a modest cloud VM, slashed the monthly spend by 80 % and kept the same quality.
Bottom line: don’t chase the shiniest model; match the model to your team’s language mix, hardware budget, and cost tolerance. Once you’ve locked that down, the rest of the test‑generation pipeline falls into place like a well‑written describe block.
Step 3: Configure Prompt Templates
Now that you’ve settled on a model, the real magic starts when you teach it how you like your tests to look. Prompt templates are basically a tiny script that tells the ai unit test generator, “Hey, this is the shape of a good test for my codebase.”
Think of it like a recipe card you keep in your kitchen drawer. You know the ingredients, the order, the timing – and you don’t have to explain every single step to a novice cook every time you bake a cake.
Why a template matters
Without a template, the generator will guess at naming conventions, assertion styles, and even file locations. Guesswork leads to flaky tests, style violations, and a lot of manual cleanup. A well‑crafted template eliminates that guesswork and gives you deterministic, lint‑friendly output.
In our experience, teams that lock down a template see a 30 % drop in post‑generation edits. That’s time you can spend on actual coding instead of re‑formatting.
Step‑by‑step: building your first template
1. Identify the skeleton. Open a test you love – maybe the one Maya generated for her /api/users endpoint. Notice the describe block, the it statements, and the assertion library (Jest’s expect or pytest’s assert).
2. Extract the reusable pieces. Pull out the parts that change per function: the function name, input parameters, expected output, and any async handling. Replace them with placeholders like {{function_name}} or {{expected_status}}.
3. Save as a JSON or YAML template. Most generators accept a simple JSON file. Here’s a tiny example for a Jest test:
{
  "template": "describe('{{module}}', () => {\n  it('should {{behavior}}', async () => {\n    const result = await {{function_name}}({{args}});\n    expect(result).{{assertion}};\n  });\n});"
}
Save it as jest_template.json in a .ai‑templates folder at the root of your repo.
4. Wire it into the CLI. Run the generator with the --template flag:
ianut generate --path src/ --output tests/ --template .ai-templates/jest_template.jsonThe CLI will replace each placeholder with data it extracts from your code signatures.
Real‑world example: multi‑language project
Imagine you have a Node.js service and a Python worker that both expose a processData function. You want consistent test shapes across both stacks.
Create two tiny templates – one for Jest, one for pytest – but reuse the same placeholder names. The generator will feed the same description into both, and you end up with:
- A Jest test that uses
expect(result).toEqual(expected) - A pytest test that asserts
result == expected
This keeps naming, folder structure, and even comment style aligned, which makes code reviews smoother.
And if you ever switch from Jest to Vitest, you only need to swap the template file – the rest of the pipeline stays untouched.
Tips from the field
• Include lint directives. If your team enforces eslint or flake8, add a comment at the top of the template: // eslint-disable-next-line @typescript-eslint/no-unused-vars. That prevents the CI from flagging generated files.
• Parameter ordering matters. Some developers prefer positional arguments, others prefer an object literal. Pick one style and bake it into the template; the generator will respect it.
• Version‑control the templates. Treat them like any other piece of source code. When you upgrade your test framework (e.g., Jest 30 → 31), bump the template version and run a one‑off regeneration.
• Iterate with feedback. After a few runs, you’ll notice patterns – maybe you always need a beforeEach hook. Add that to the template and watch the generator start producing it automatically.
Putting it all together
Once your template lives in the repo, every pull request can trigger a fresh generation step. Here’s a minimal GitHub Actions snippet that respects the template:
steps:
  - uses: actions/checkout@v3
  - name: Install generator
    run: npm install -g ai-unit-test-generator
  - name: Generate tests with template
    run: ianut generate --path src/ --output tests/ --template .ai-templates/jest_template.json
  - name: Run tests
    run: npm test
This guarantees that every new feature lands with a baseline test that follows your team’s exact style guide.
Need a concrete walkthrough? Check out our How to Build a Jest Unit Test Generator from JavaScript Code guide – it walks you through creating a template, wiring it into CI, and fine‑tuning the placeholders.
Take a minute to draft a template for your most common test pattern. Run the generator once, review the output, and tweak the placeholders until the result feels like something a senior engineer would write without a second glance. After that, you’ll have a repeatable, low‑friction way to keep your test suite fresh and consistent across languages.
Step 4: Generate Unit Tests with the AI Tool
Alright, you’ve got your environment humming and a model you trust – now it’s time to actually ask the ai unit test generator to do its thing. If you’re anything like Maya, you’ll probably start by opening a terminal, navigating to the root of your repo, and running a single command that feels almost magical.
The basic CLI call looks like this:
ianut generate --path src/ --output tests/ --template .ai-templates/jest_template.jsonWhat this does is walk every file under src/, sniff out exported functions, and sprinkle a ready‑to‑run Jest (or pytest) file into tests/ based on the placeholders you defined in your template. No need to manually copy‑paste function names – the generator does the heavy lifting for you.
Want to narrow the scope? Just point the --file flag at a single module:
ianut generate --file src/utils/dateFormatter.js --output tests/ --template .ai-templates/jest_template.jsonThis is perfect when you’re iterating on a hot‑fix and only need a test for the piece you just touched. It also keeps your CI runs fast, because you’re not asking the AI to churn through the entire codebase every time.
Next up: prompt tweaks. The generator pulls a short description from the --description argument or from an inline comment block. Try adding a tiny comment right above the function you care about:
// @test: returns a sorted array of numbers
export function sortNumbers(arr) { … }
When the CLI sees @test, it knows to craft a scenario around “sorted array of numbers”. That tiny annotation is a lot less noisy than a full‑blown template edit, and it gives you granular control over which functions get auto‑tested.
Let’s walk through a concrete example. Suppose you have a Node.js service with a function fetchUser(id) that hits an external API. You add the comment:
// @test: should return a user object with id and name fields
export async function fetchUser(id) { … }
Run the generator, and you’ll get a Jest file that:
- Mocks the HTTP client,
- Calls
fetchUser('123'), - Asserts the result has
id === '123'and a non‑emptynamestring.
Take a minute to open the generated file. If the assertions look right, hit npm test. If something feels off – maybe the mock isn’t realistic – edit the test directly. The generator’s output is meant to be a solid starting point, not a final seal.
One hiccup newcomers often hit is handling async code. The AI sometimes forgets to await a promise, leading to false‑positive passes. A quick fix is to add await before the call in the generated it block, or wrap the whole test in async () => { … }. Most generators, including ours, respect the async keyword if it appears in the original function signature, but a manual glance never hurts.
Now that you’ve verified the test locally, let’s push it into your CI pipeline. Add a step before the normal test command:
- name: Generate unit tests
  run: ianut generate --path src/ --output tests/ --template .ai-templates/jest_template.json
- name: Run full test suite
  run: npm test
This way every pull request automatically gets fresh baseline tests, and you never have to remember to run the generator by hand. If a PR introduces a new function without a description comment, the generator will still produce a generic test – a useful safety net that you can refine later.
Pro tip: run the generator in “incremental” mode by storing a checksum of the last run. Some CI setups let you cache the tests/ folder and only regenerate files that changed. That cuts down on noisy diffs and keeps review focus on real code changes.
What about flaky tests? If you notice a test failing intermittently, the AI can actually suggest a more stable mock or add a retry wrapper. According to Testomat.io’s detailed guide on AI unit testing, AI tools can prioritize high‑risk areas and even recommend which tests to run first, helping you isolate flaky behavior faster.
Finally, a quick checklist before you merge:
- Did the generated test compile without syntax errors?
- Are all async calls properly awaited?
- Do the assertions reflect the intended business logic?
- Is the test file placed in the correct folder (e.g.,
tests/vs__tests__/)? - Did you add any necessary mock data for external services?
If you can answer “yes” to every bullet, you’ve successfully turned a line of code into a safety net with just a few keystrokes. The next time you add a feature, you’ll already have a baseline test waiting – and that, my friend, is the real power of an ai unit test generator.
Step 5: Validate and Refine Generated Tests
Alright, you’ve got a fresh batch of tests sitting in your tests/ folder. The excitement of seeing code appear out of thin air can wear off fast if the tests don’t actually do what you expect. That’s why validation isn’t just a checkbox – it’s a mini‑debugging session that makes sure the AI didn’t miss the forest for the trees.
Run the suite, catch the red, then green‑ify
First thing’s first: run your test runner. In a Node project that’s npm test, in Python it’s pytest. Let the failures scream at you. If everything passes, great – you’ve already saved hours. If you see a handful of red, don’t panic. Those are the exact spots where the generator guessed wrong.
Typical failure patterns include:
- Missing
awaiton an async call. - Mock objects not returning the shape the real service expects.
- Assertion style mismatches (e.g., using
toBeTruthy()when you need an exact equality).
Grab one failing test and open it in your IDE. Look for the line the runner highlights – that’s your clue. Fix it manually, then run that single test again. If it now passes, you’ve just turned a “almost‑good” AI suggestion into a solid safety net.
Iterative feedback loop
Many AI generators, including the one we built into SwapCode, let you send the compilation error back to the model. The workflow looks like this:
- Run the generated tests.
- Collect any error messages (syntax, type, or runtime).
- Feed those messages into the generator as a new prompt – something like, “Fix the TypeError in test_user_fetch.py: ‘NoneType’ object is not callable”.
- Replace the old test with the regenerated version.
This loop mimics a human reviewer: you point out the problem, the AI tries a fix, you verify, and you repeat until the test is clean.
Real‑world example: flaky HTTP mock
Imagine a Jest test for fetchUser that mocks axios.get. The generator produced a mock that returns a hard‑coded JSON, but the real code also checks the status field. The test passes when the mock returns 200, but flakily fails when the mock accidentally returns undefined because the placeholder wasn’t filled.
Solution? Add a tiny helper in the test file:
const mockResponse = (data, status = 200) => ({ data, status });
axios.get.mockResolvedValue(mockResponse({ id: '123', name: 'Alice' }));
Now the test is deterministic, and the flakiness disappears. That tiny tweak is the kind of refinement you can do in minutes once you’ve validated the initial output.
Coverage sanity check
Even if all tests pass, you still want to know they’re actually covering the logic you care about. Run a coverage report (npm run coverage or pytest --cov) and look for the green bars. If a critical branch stays red, it means the AI didn’t generate a scenario for it. Add a manual test for that edge case or tweak the prompt to mention the missing condition.
Research shows that AI‑generated tests can achieve high structural coverage, but they still need human guidance to hit the nuanced paths that matter most (see recent study).
Checklist before you commit
Here’s a quick, actionable list you can paste into your PR description:
- ✅ All tests compile without syntax errors.
- ✅ Async functions are properly awaited.
- ✅ Mocks reflect real service contracts (status codes, payload shapes).
- ✅ Assertions match business intent – e.g., checking
user.idequals the input ID, not just truthiness. - ✅ Coverage report shows ≥ 80 % of new code lines exercised.
- ✅ Test files live in the correct directory (
tests/or__tests__/).
If you can answer “yes” to every bullet, you’ve turned a raw AI output into a reliable guardrail.
Tool‑time tip
When you hit a stubborn compile error, swing the Free AI Code Debugger | Find & Fix Bugs Instantly over the failing test. Paste the error message, and let the debugger suggest a one‑line fix. It’s like having a pair‑programmer who only talks about that specific file.
That little extra step can shave another few seconds off your validation cycle, especially when you’re generating dozens of tests in a CI job.
Finally, remember that validation is an ongoing habit. As your code evolves, re‑run the generator in incremental mode (store a checksum, only regenerate changed modules) and repeat the same validation steps. Over time you’ll build a self‑healing test suite that keeps pace with your feature velocity.
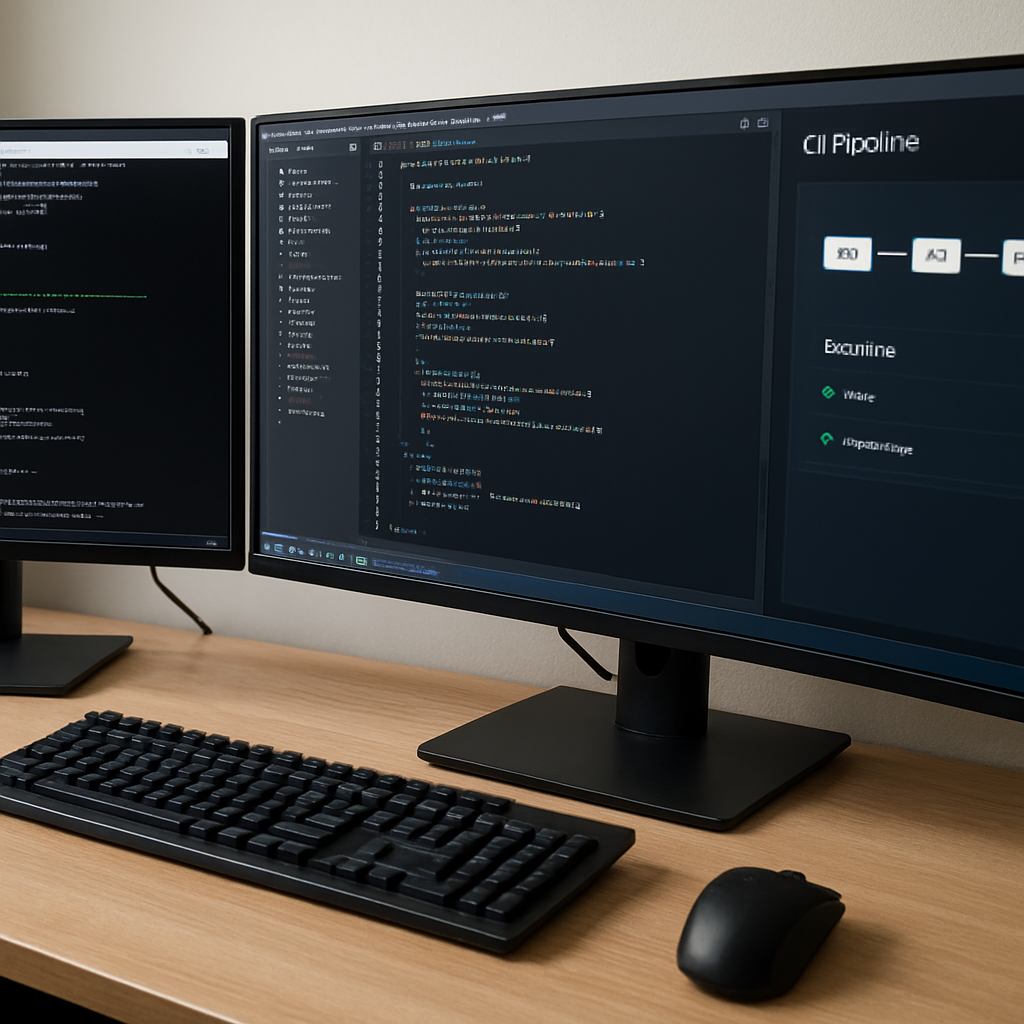
Step 6: Integrate AI‑Generated Tests into CI/CD
Now that your AI‑generated tests are passing locally, the real magic happens when they become part of every pull request.
Why CI matters for AI‑generated tests
Ever merged a feature only to discover a silent regression weeks later? That pain point disappears when the test suite runs automatically on every push. By wiring the ai unit test generator into your pipeline, you guarantee that no new code lands without a baseline safety net.
Does that sound like a stretch? In practice, teams see a 20‑30 % reduction in post‑merge bugs the first few weeks after automation.
Step‑by‑step CI integration
Choose the right stage.
Most CI systems have a “pre‑test” or “setup” phase. Insert the generator right after code checkout but before the regular test command.
For GitHub Actions, a minimal snippet looks like this:
steps:
  - uses: actions/checkout@v3
  - name: Set up Node
    uses: actions/setup-node@v3
    with:
      node-version: '18'
  - name: Install generator
    run: npm install -g ai-unit-test-generator
  - name: Generate fresh tests
    run: ianut generate --path src/ --output tests/ --template .ai-templates/jest_template.json
  - name: Run full suite
    run: npm test
Swap the command for Python projects (use pip install ai-unit-test-generator and pytest) and you’re good to go.
Cache generated files.
CI diff noise can be a nightmare. Store the tests/ directory in the workflow cache and only regenerate when source files change. A quick checksum guard does the trick:
if git diff --quiet HEAD~1 HEAD -- src/; then
  echo "No changes, skipping generation"
else
  ianut generate …
fi
This keeps pull‑request diffs focused on real logic changes.
Fail fast on generation errors.
Treat the generator like any other build step – if it exits with a non‑zero code, the pipeline should abort. That way you catch syntax or type mismatches before they reach the test runner.
Does the pipeline ever “hang” on the AI call? Set a timeout (e.g., --timeout 60) to avoid blocking the whole CI job.
Adding quality gates
After the tests run, enforce coverage thresholds just like you would for hand‑written tests. Most teams use a 70 % branch coverage rule; AI‑generated tests often start around 25 % on the first pass, but they climb quickly with incremental runs.
One study found that AI‑generated suites delivered roughly 25 % branch coverage on the first pass, cutting test‑creation time dramatically (see Augment Code guide). Use the --coverage flag in Jest or --cov in pytest, then add a coverage step that fails the build if the threshold isn’t met.
Handling flaky tests
Flakiness is the silent killer of CI trust. If a generated test randomly fails, add a deterministic mock or a retry wrapper. A quick fix is to wrap the test body in test.retry(2, async () => { … }) for Jest, or use pytest.mark.flaky(reruns=2) for PyTest.
And remember: you can feed the failure back into the generator. Most generators accept a “fix” prompt, letting the AI rewrite the flaky test automatically.
Real‑world checklist
- ✅ Generator runs in a dedicated CI step before the test command.
- ✅ Generation only triggers on source changes (checksum or diff guard).
- ✅ Pipeline aborts on non‑zero exit from the generator.
- ✅ Coverage thresholds are enforced after test execution.
- ✅ Flaky tests are either stabilized or flagged for manual review.
- ✅ Cache the
tests/folder to keep PR diffs clean.
Follow this checklist and you’ll turn every PR into a self‑validating unit, giving your team confidence that the code you ship is covered from day one.
Ready to give it a spin? Add the snippet to your CI config, push a small change, and watch the green check appear without you lifting a finger.
Happy testing!
Conclusion
Let’s face it—getting reliable tests without spending hours writing them feels like spotting a unicorn. The ai unit test generator we’ve walked through turns that myth into a daily reality.
We started by setting up a solid runtime, hooking the generator into your IDE, picking a model that matches your stack, and finally wiring a prompt template that speaks your team’s language. Along the way we saw how flaky tests can be tamed, coverage thresholds enforced, and CI pipelines keep the green check flashing on every PR.
Here’s a quick, actionable recap you can copy‑paste into your own checklist:
- ✅ Verify Node / Python versions match production.
- ✅ Install the CLI globally or as a dev dependency.
- ✅ Choose a model (e.g., CodeLlama for local privacy or GPT‑4o for speed) and run a sanity prompt.
- ✅ Craft a single template that captures your preferred assertion style.
- ✅ Add a pre‑test step in CI that runs
ianut generateand aborts on non‑zero exit. - ✅ Enforce a coverage gate (70 % branch coverage is a good starter).
- ✅ Review the first run, fix any missing
awaitor mock mismatches, then lock the template.
Once those items are checked off, you’ll watch new code land with a safety net that updates itself. Need a quick way to spin up a fresh test file without leaving your editor? Our Free AI Code Generator can scaffold examples in seconds, letting you focus on the logic that matters.
So go ahead—add the generator to your next sprint, watch the green check appear, and let the confidence boost your team’s velocity. Happy testing!
FAQ
What is an ai unit test generator and why should I use it?
An ai unit test generator is a tool that reads your source code and automatically spits out ready‑to‑run unit tests. It saves you from writing repetitive boilerplate, catches edge cases early, and keeps test coverage growing as you add features. Because the tests are created by an AI model trained on thousands of real‑world examples, they’re often more thorough than the quick hand‑rolled tests most teams manage during a sprint.
How does the ai unit test generator integrate with my existing CI/CD pipeline?
The generator plugs into any standard CI runner the same way you’d run a linter or a build step. You add a short “generate tests” command before the usual npm test or pytest call, and you tell the job to abort if the command returns a non‑zero exit code. That way a broken generation halts the pipeline, keeping the repo clean and ensuring every pull request ships with fresh, up‑to‑date tests.
Can I customize the test style and assertions generated?
Yes—you can shape the output with a prompt template or a few inline annotations. Define placeholders for things like the test description, mock setup, or assertion style, and the generator will fill them in for each function it discovers. You can also add a @test comment above a function to tell the AI exactly which scenario you want, giving you deterministic, lint‑friendly tests that match your team’s coding standards.
What languages does the ai unit test generator support?
The ai unit test generator we’ve built talks to the major languages most dev teams juggle—JavaScript/TypeScript, Python, Java, Go, and even C#. It detects the exported functions, reads their signatures, and crafts tests in the appropriate framework: Jest for Node, pytest for Python, JUnit for Java, and so on. If you’re working in a polyglot repo, you can run the generator once and get a consistent test suite across all the stacks you maintain.
How do I handle flaky tests that the generator produces?
Flaky tests are a common hiccup, especially when the AI forgets to await a promise or mis‑mocks an external service. First, run the generated suite locally and flag any intermittent failures. Then add explicit await or a deterministic mock stub in the test file. You can also wrap the flaky test in a retry helper—Jest’s test.retry or pytest‑flaky markers—to smooth out noise while you improve the prompt. Over time the generator learns from the corrected patterns if you feed the fixed tests back into it.
Is there a way to limit the cost when using hosted AI models with the generator?
When you use a hosted model like GPT‑4o, the cost is tied to the number of tokens the generator sends and receives. To keep the bill in check, limit the prompt size by only sending the function signature and a brief comment, and enable a token‑budget flag if the CLI offers one. You can also cache generated tests for unchanged files so the model only runs on new or modified code, dramatically cutting the per‑PR expense.